CSS Basics
In this lab, you will use CSS to make a page look better. Specifically, you will create multiple CSS files that progressively add better aesthetics to a provided HTML file. These CSS files will be added incrementally to the HTML files to layer on improved spacing, colors & borders, and a customized navigation menu.
All code must validate cleanly (no errors or warnings) through the standard validation tools listed below. You must resolve all errors and warnings before submission. For individual CSS properties, please refer to the MDN reference list.
Preliminaries
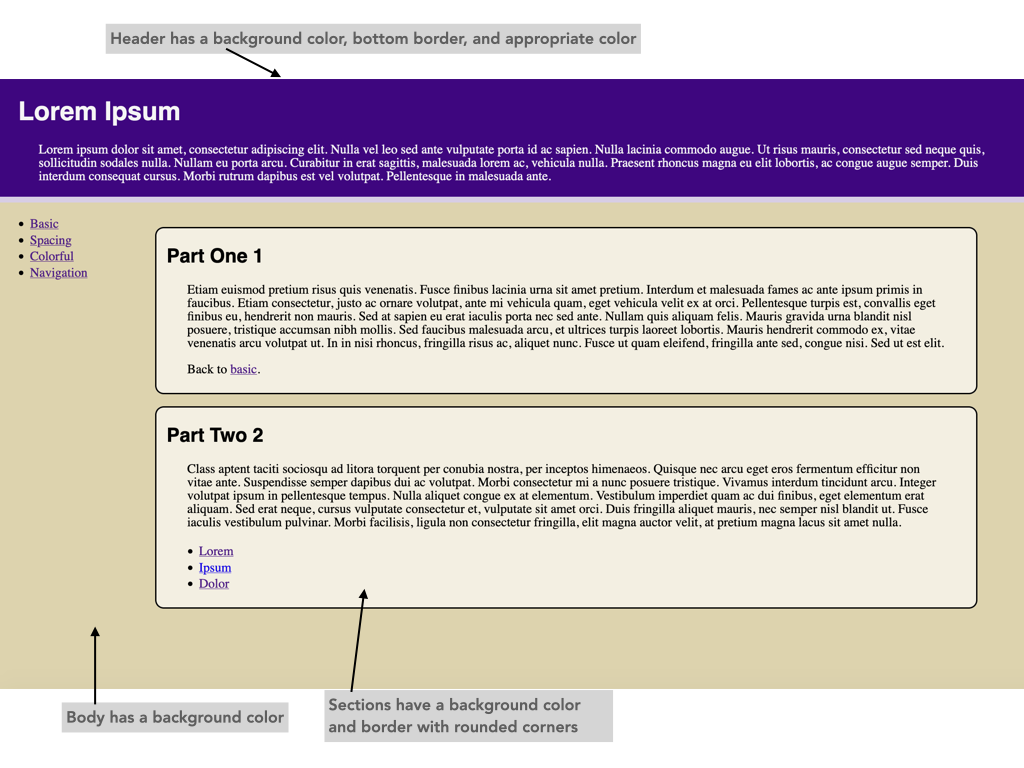
This lab requires working with CSS to specify very exact values. The test cases provide some small amount of variation, but you should not just guess at the values required. All test cases assume as 1280x720 layout dimension. The links to "this layout" go to a top and bottom image that were generated using Firefox's responsive design mode tool to specify these exact dimensions. You are encouraged to use this tool as well.
Note that there are some natural variations that cannot be controlled. Specifically, the system fonts used to generate these images may differ from the fonts on your machine slightly. There is no easy way to avoid this. However, if you pay close attention to the annotated version of the layouts, you should be okay. In particular, pay attention to the units implied. You should know when to use 10%, 10vw, 10px, or other such units.
Starting Code
Download the following files to get started:
index.html- A basic HTML page with no style sheet.styles.css- A minimal CSS file.
Generally speaking, you will not be able to make any changes to the HTML file except to include a CSS file. All visual changes must be controlled by CSS only. All CSS rules are based solely on elements, not ID or class.
Throughout this lab, you will need to use certain color values that we refer to by name. This colors consist of the following RGB values:
#450084- indigo#dacce6- thistle#dedede- gainsboro#dfd2aa- wheat#f4efe1- oldlace#f2f2f2- whitesmoke
Step 0: Linking to CSS
Edit the index.html file to include the styles.css
stylesheet. Then edit styles.css to add a minimal rule set:
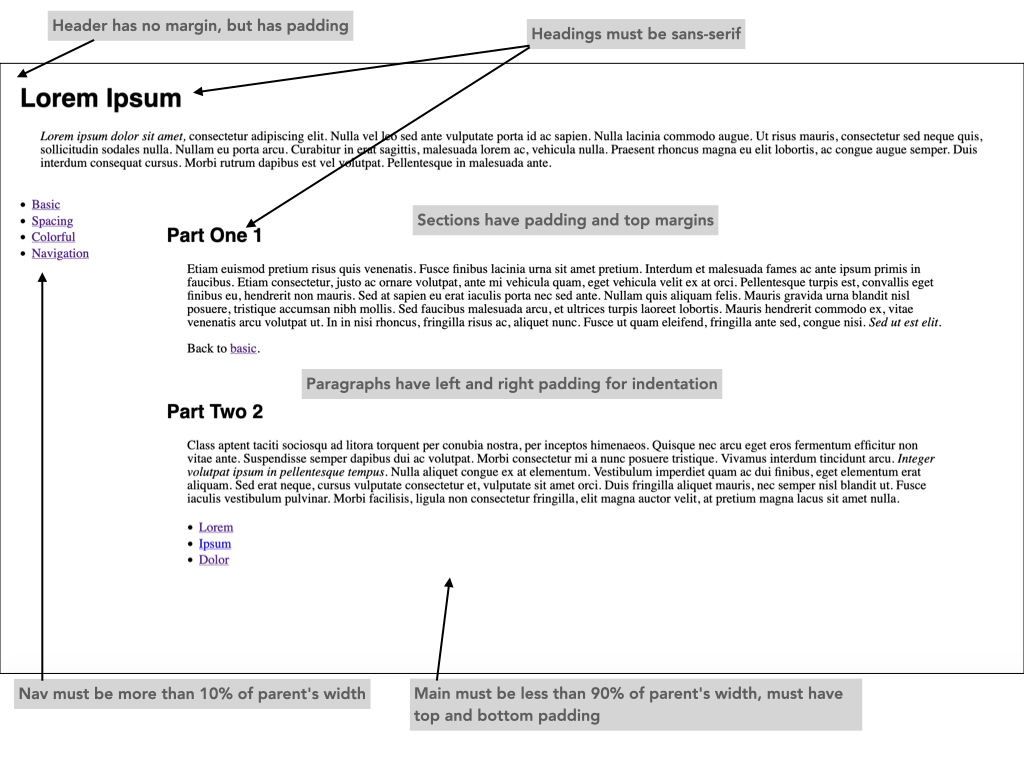
- Make the
<body>element use a serif font by default. - Make
<h1>and<h2>elements use sans-serif.
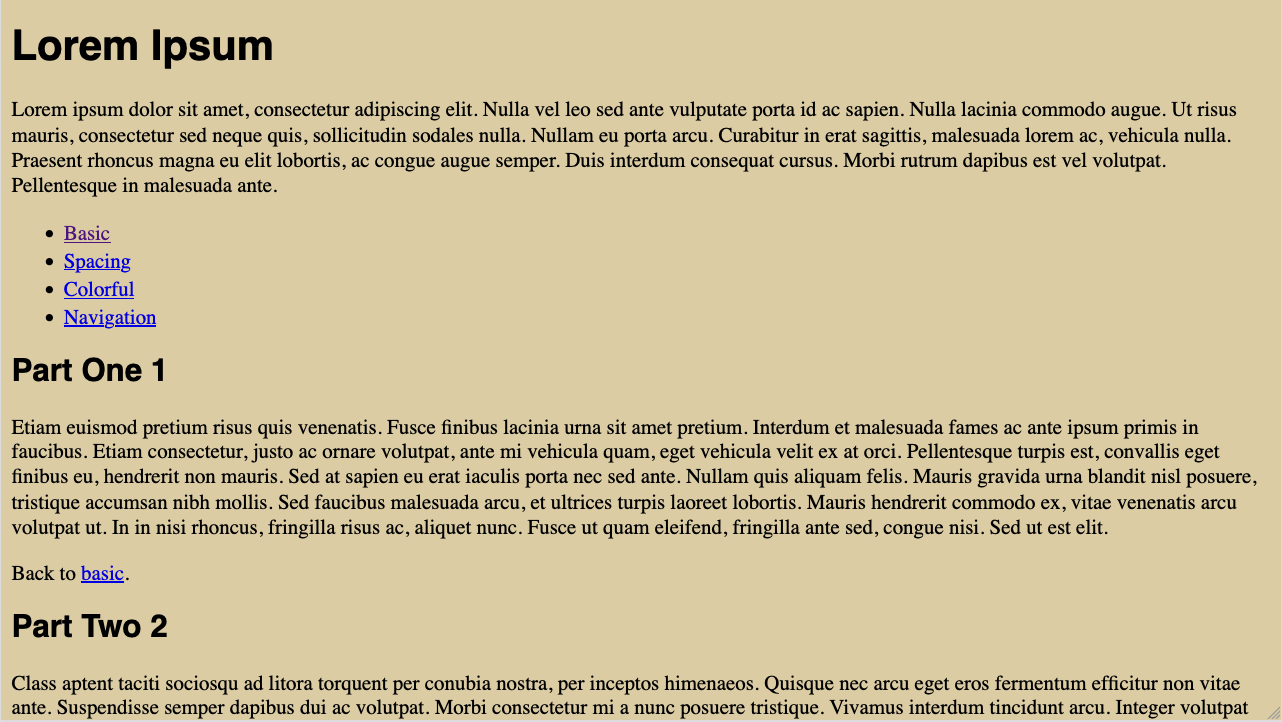
The provided styles.css includes the rules necessary. You
just need to provide the values. After you do this, your page should look like
this layout.
You can also see specific values mentioned in this
annotated version.
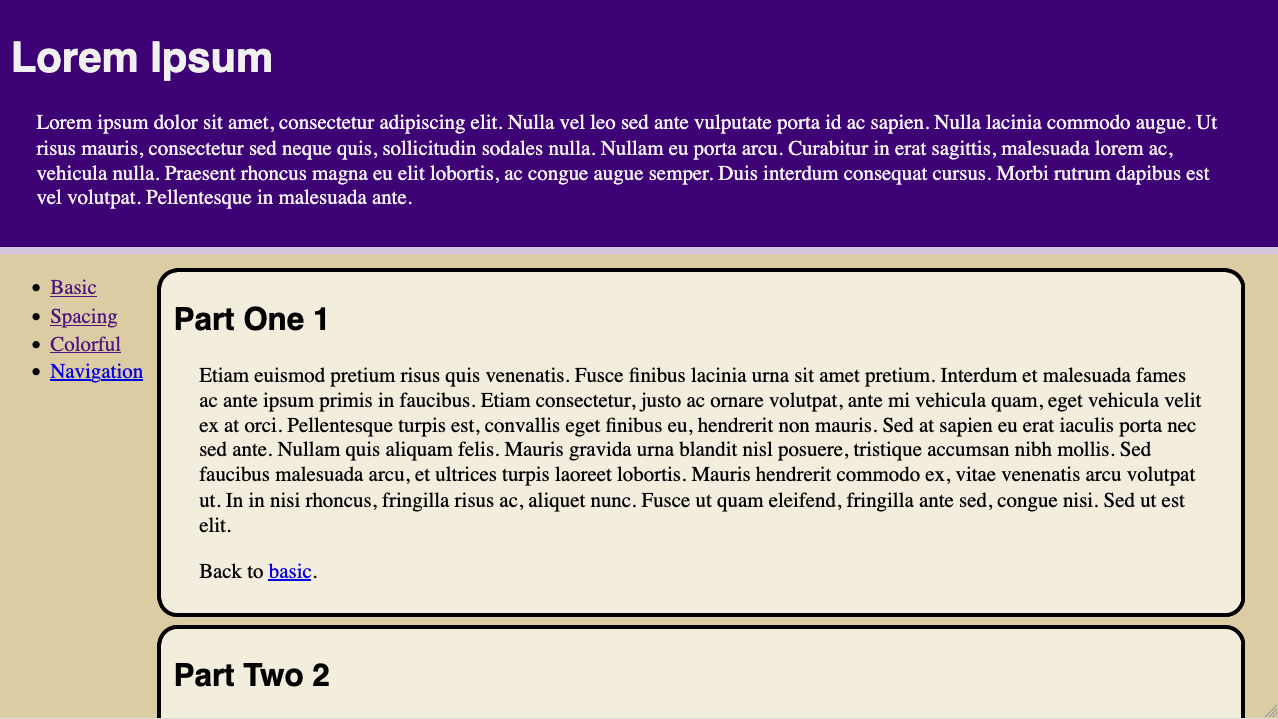
Step 1: Spacing
Copy index.html as spaces.html and create a new
spaces.css file. Change spaces.html so that it only
links to spaces.css. However, your page must still use the same
color schemes from above. To do this, you can tell spaces.css to
include styles.css:
@import 'styles.css';Your task in this step is to define element rules to add spacing throughout
the page. Modify spaces.css to define rules that use only
the following CSS properties (or variations, such as margin-top,
padding-left, etc.):
marginpaddingvertical-alignwidth
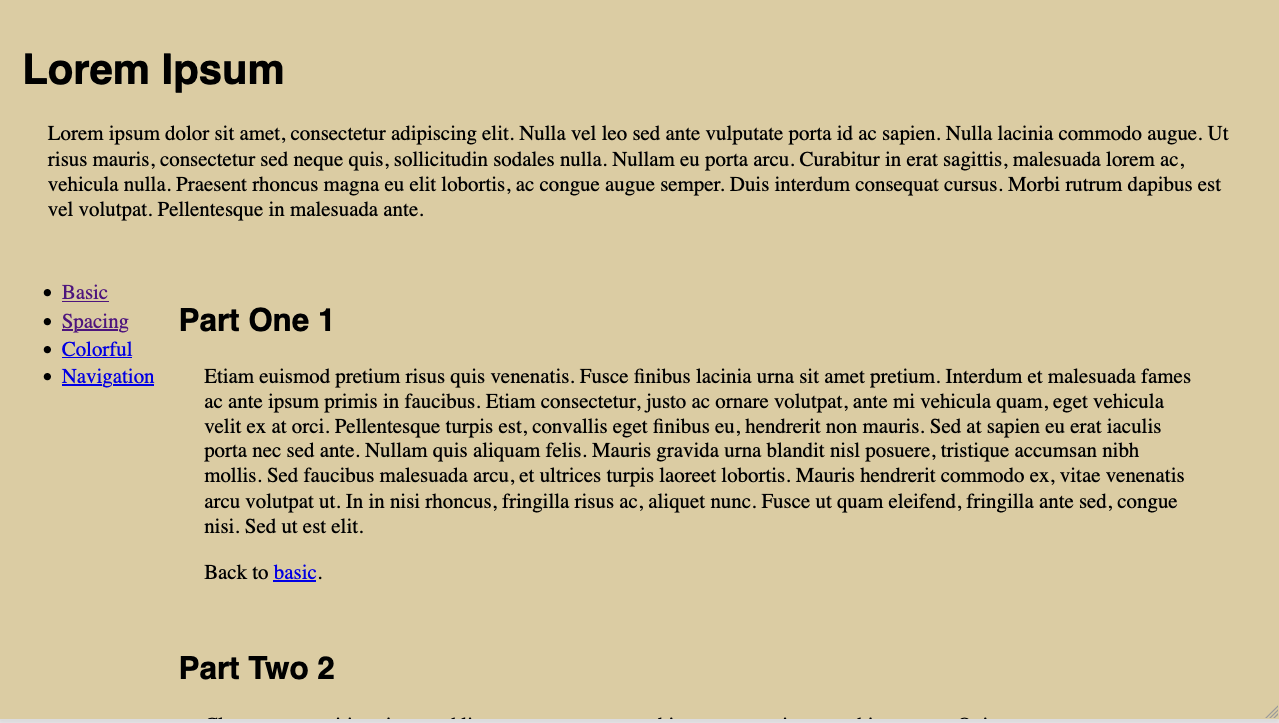
Add rules for the <h1>, <h2>,
<header>, <main>, <nav>,
<p>, and <section> tags to create
this layout.
Your solution may have slight variations, but it must satisfy all the constraints
in this annotated version. Unless
specified otherwise, spacing should be in terms of the viewport height and
width, with values at least 1% of the viewport dimension. (Note that you can
use 0px to refer to any spacing that needs to be zero.)
In the rules for <main> and <nav>,
add the rule display: inline-block;. (We will discuss this
property next week.)
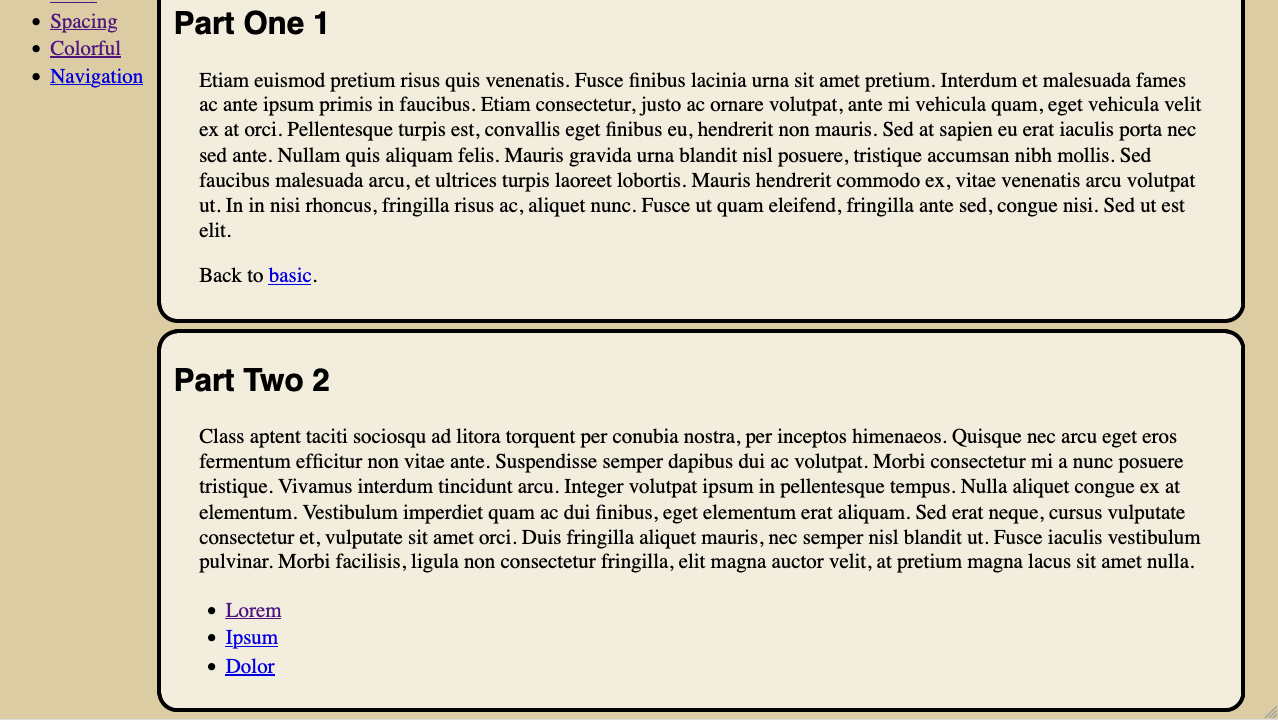
Step 2: Colors
Copy spaces.html as colors.html and create a new
colors.css file. Change colors.html to add a link to
colors.css (still also linking to spaces.css).
Your next task is to define element rules to add borders and colors
throughout the page. For this step, you will modify colors.css
and you may only use the spacing rules from above and the following
additional CSS properties and their variations:
backgroundbordercolor
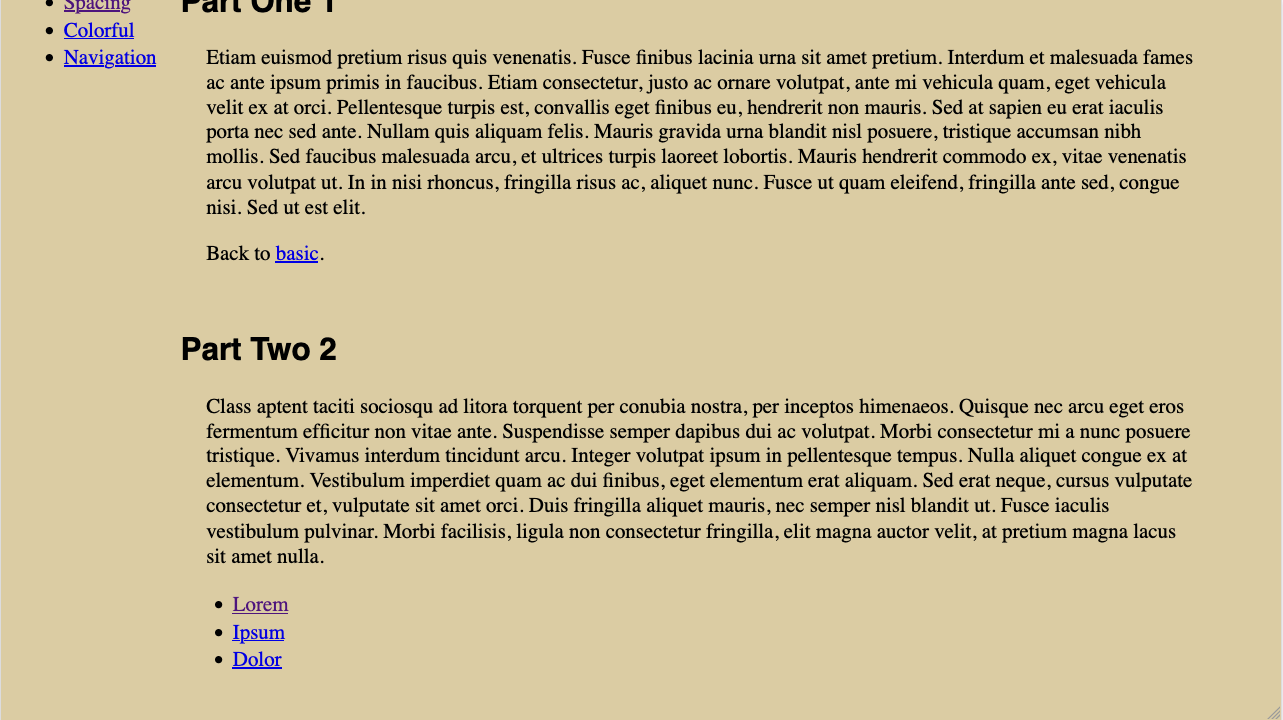
Add rules for the <header>
and <section> tags to create
this layout.
As before, your solution may have
some variation but you must satisfy all the constraints in this
annotated version.
The borders specified must be at least 2 pixels wide. Note that the curved
corners are created by using the border-radius property.
To make the page look truly correct, you will need to add a rule for
<body> to set its margin to 0. Otherwise,
you may see a bit of the background color around the header.
You should reuse the spacing values from the first step rather than repeating them here. In this step, you will only need to use spacing to make sure that the header covers the full width and top of page.
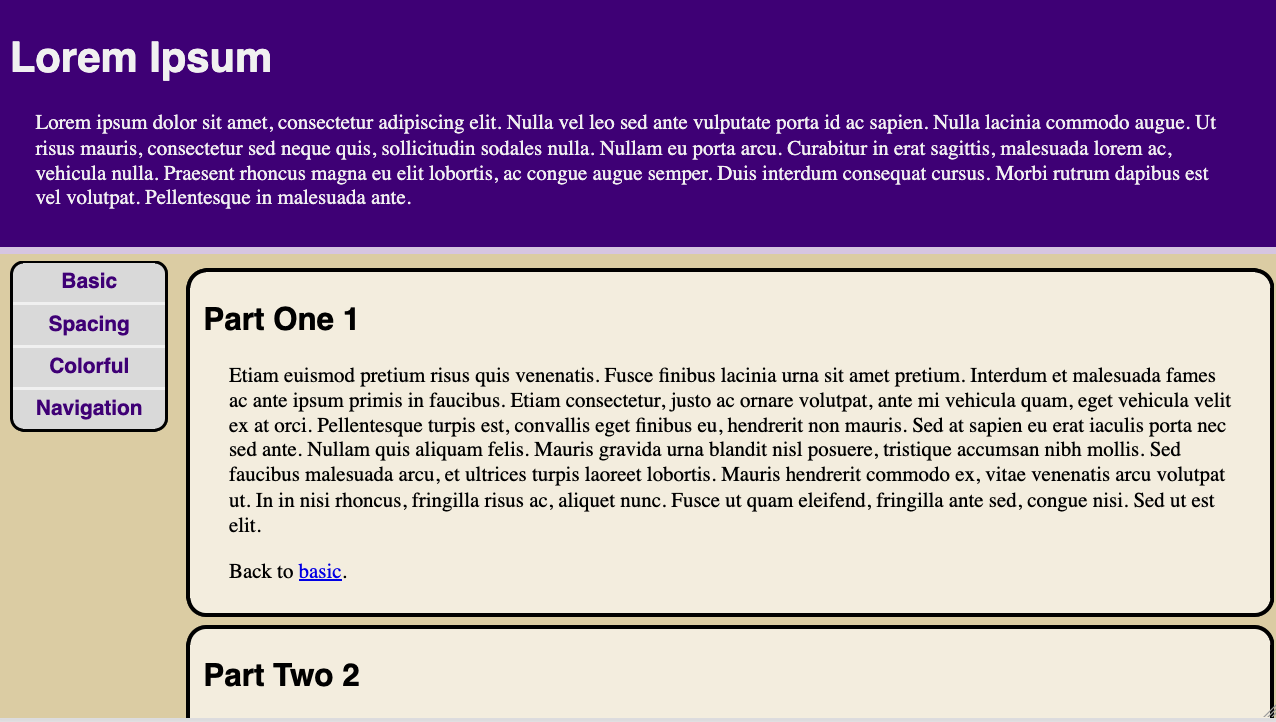
Step 3: Customized Navigation Menu
Copy colors.html as navs.html and create a new
navs.css file. Change navs.html to add a link to
navs.css (still also linking to spaces.css and
colors.css).
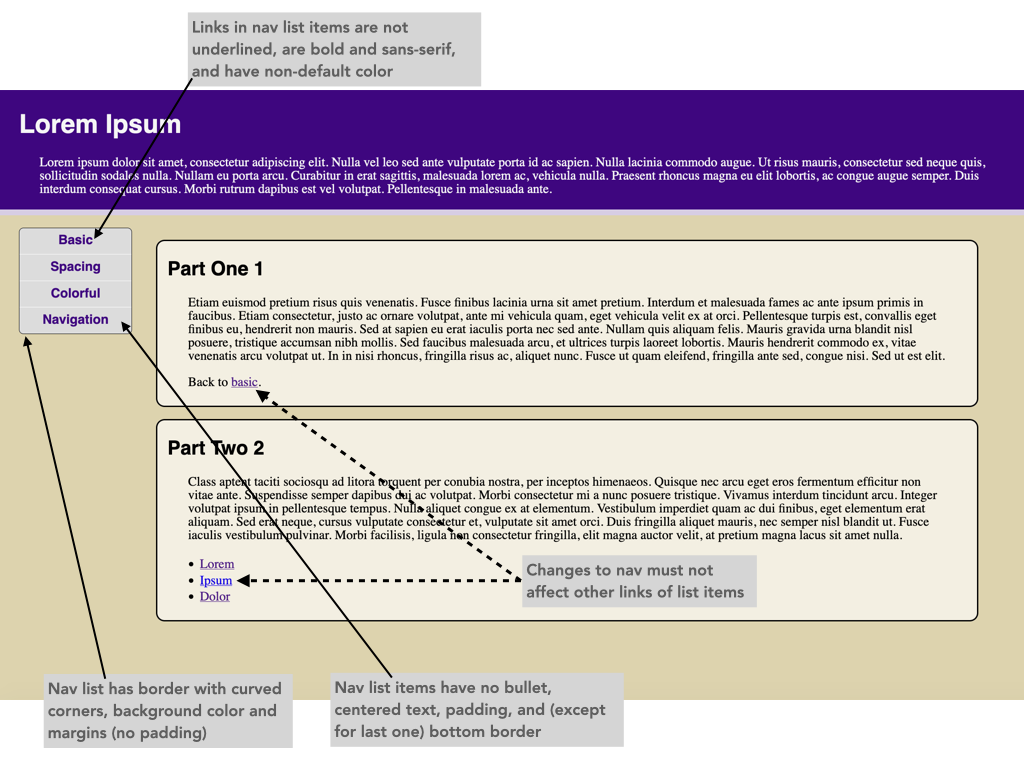
Your final task is to specify custom rules to the navigation menu on the
left part of the page. For this step, you will modify navs.css.
You must use some descendent or child
selectors so that you do not change elements outside of the navigation.
For this step, you will need the following CSS properties (in addition
to ones mentioned previously):
font-weightlist-style-typetext-align
Add rules for the elements within the <nav> structure to create
this layout.
You must satisfy all the constraints in this
annotated version.
Make sure that your rules apply only to the specified element. In particular,
be sure to distinguish between the list (<ul>), list item
(<li>), and link (<a>) elements.
Submission
When you are finished, submit your index.html and all four
CSS files to Gradescope.