Lab 4: Car Class and Test
In this lab, you will implement a Car class and corresponding CarTest.
You will learn about non-static attributes and methods.
And you will gain more experience with JUnit and code coverage.
Learning Objectives
After completing this lab, you should be able to:
- Interpret a UML class diagram and stub out the corresponding code.
- Write JUnit tests that create objects and assert non-static methods.
Step 1. Getting Started
Do the following steps in VS Code:
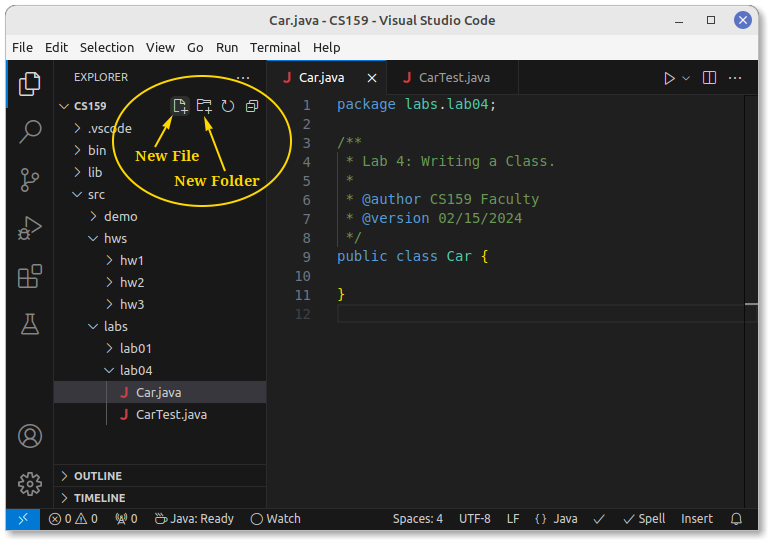
- Create a
lab04folder under yoursrc/labsfolder. - Add two new files:
Car.javaandCarTest.java. - Write the
packageandpublic classstatements. - Write a Javadoc comment with your name and date.
When finished, your Car.java and CarTest.java should look like this:
Step 2. UML Class Diagram
Based on the diagram below, declare each attribute and write a stub for each method.
Do not implement any methods yet, but make the code compile.
For example, if a method returns a String, write return ""; as a stub (placeholder).
Show your code to the instructor or TA before proceeding to the next step.
classDiagram
    class Car {
        - make: String
        - speed: double
        - year: int
        + Car(make: String, year: int)
        + getMake() String
        + getSpeed() double
        + getYear() int
        + accelerate() String
        + brake()
        + equals(obj: Object) boolean
        + toString() String
    }
Note
The brake() method is void (does not return a value).
The word void is usually omitted in UML class diagrams.
Step 3. Constructor, Getters
The purpose of a constructor is to initialize the attributes of this object.
Notice the Car class has three attributes: make, speed, and year.
The constructor has two parameters: make and year.
Use the parameters to initialize this object's make and year.
Initialize this object's speed to zero.
Then write the Javadoc comment for the constructor.
Note
When writing documentation for constructors, do not use the word create.
Constructors do not "create" objects; the new operator creates an object.
Once an object has been created, the constructor is called to initialize the object.
The purpose of a getter method is to return the current value of an attribute.
Notice that the attributes are private, meaning they can be accessed only in the Car class.
Other classes, like CarTest, will need to use the public getters to access the attributes.
Implement each getter by returning the corresponding attribute.
Javadoc comments are not required for most getter methods. However, a Javadoc comment is required if a getter does more than simply return an attribute.
Step 4. Test the Constructor
Before implementing the other methods in Car.java, let's make sure the constructor and getter methods work correctly.
Open CarTest.java and add the following imports to the top:
import static org.junit.jupiter.api.Assertions.assertEquals;

import org.junit.jupiter.api.Test;
Then add the following method:
@Test
public void testConstructor() {
}
Note
The @Test annotation tells JUnit that the following method is a test method.
Test classes sometimes have other methods, such as helper methods, that are not run as tests.
Add the following code to testConstructor():
- Create two
Carobjects.- Each car should have a different make and year.
- Write three
assertEqualsstatements for each car:getMake()should return the make you chose.getSpeed()should return zero (at this point).getYear()should return the year you chose.
Run the test by clicking the green play () button next to the method. If the test fails, make whatever changes are necessary in your code. After the test passes, click the Watch button (bottom left) to show code coverage.

In Car.java, the constructor and getters should be highlighted in green, meaning those lines were executed during the test.
The other methods should be highlighted in red, meaning they were not executed during the test.
Click the Watch button again to hide code coverage.
Step 5. Accelerate and Brake
The accelerate() method increases the current speed of the car by 5 miles per hour.
After increasing the speed, accelerate() returns a string describing the change.
Use the format "15.0 + 5.0 = 20.0" where 15.0 is the old speed and 20.0 is the new speed.
Note
The String.format() method is useful for formatting double values.
For example, you can format the speed values to one decimal place as follows:
return String.format("%.1f + 5.0 = %.1f", speed - 5, speed);
Your code must not allow the speed to increase above 150 miles per hour.
If the speed is already 150, and accelerate() is called, the speed should remain 150.
In that case, the method should return the string "150.0 + 0.0 = 150.0".
The brake() method should decrease the current speed by 5 miles per hour.
Your code must not allow the speed to decrease below 0 miles per hour.
Write Javadoc comments for accelerate() and brake() before moving on to the next step.
Step 6. Test Driving the Car
Add the following method to CarTest:
@Test
public void testAcceleration() {
}
This test should do the following:
- Create a
Carobject. - Call the
accelerate()method.- Assert that the method returned
"0.0 + 5.0 = 5.0". - Assert that the
Carobject's speed is now 5.
- Assert that the method returned
- Call the
brake()method.- Assert that the
Carobject's speed is now 0.
- Assert that the
Run the test and make sure the test passes.
Click the Watch button to show code coverage.
Some lines of Car.java are green, some are yellow, and some are red.
You still need to test accelerating when speed is 150 and braking when speed is 0.
Add the following method to CarTest:
@Test
public void testSpeedLimits() {
}
This test should do the following:
- Create a
Carobject. - Call the
brake()method.- Assert that the
Carobject's speed is 0.
- Assert that the
- Call the
accelerate()method 30 times, and then:- Assert that the method returned
"145.0 + 5.0 = 150.0". - Assert that the
Carobject's speed is now 150.
- Assert that the method returned
- Call the
accelerate()method one more time.- Assert that the method returned
"150.0 + 0.0 = 150.0". - Assert that the
Carobject's speed is still 150.
- Assert that the method returned
Step 7. The equals() method
The purpose of the equals() method is to determine if two objects are equivalent.
Replace your equals() method with the following solution:
@Override
public boolean equals(Object obj) {
    if (obj instanceof Car) {
        Car car = (Car) obj;
        return car.make.equals(this.make) && car.year == this.year;
    }
    return false;
}
The above code:
- Overrides the default implementation of
equals().- By default,
equals()returns true ifthisandobjare the same object.
- By default,
- Checks if
obj, which can be any type of object, is actually aCarobject.- If not, then
equals()returns false at the end.
- If not, then
- Declares a
Carvariable to reference the same object asobj. - Determines whether
carhas the same make and year asthisobject.
Step 8: The toString() method
The purpose of the toString() method is to return a string that represents the object.
Replace your toString() method with the provided solution:
@Override
public String toString() {
    return String.format("A %d %s that is going %.1f mph",
        year, make, speed);
}
The above code:
- Overrides the default implementation of
toString().- By default,
toString()returns the class name and the memory location of the object. For example,"labs.lab04.Car@5b6f7412".
- By default,
- Uses the
String.format()method to build a string based on the object's attributes.
Note
Javadoc comments are not required for @Override methods, because the
documentation is already defined by the default implementation.
In VS Code, you can hover the mouse over a method's name to see the documentation.
Step 9. Final Test and Submit
Add the following test methods to CarTest:
@Test
public void testEquals() {
    Car car1 = new Car("Nissan", 2003);
    Car car2 = new Car("Nissan", 2003);
    Car car3 = new Car("Honda", 2003);
    Car car4 = new Car("Nissan", 2024);
    assertTrue(car1.equals(car2));
    assertFalse(car1.equals(car3));
    assertFalse(car1.equals(car4));
    assertFalse(car1.equals("car5"));
}

@Test
public void testString() {
    Car car = new Car("Nissan", 2003);
    assertEquals("A 2003 Nissan that is going 0.0 mph", car.toString());
}
Notice that testEquals() compares car1 with four different objects:
car2has the same make and year.car3has a different make.car4has a different year."car5"(in quotes) is a string.
Calling the equals() method four times is necessary to cover all the branches.
In contrast, the toString() method does not have any branches.
So only one method call is necessary to get full coverage of toString().
As a final step, click the green play () button next to public class CarTest.
All five tests should pass, and you should have 100% code coverage of the Car class.
Submit both Car.java and CarTest.java to Gradescope.
Points will be allocated as follows:
| Criterion | Points | Details |
|---|---|---|
| Compile | 0 pts | Success Required |
| CompileOfficialTests | 0 pts | Success Required |
| Style | 0 pts | Success Required |
| SelfTests | 2 pts | Partial Credit Possible |
| Coverage | 3 pts | Partial Credit Possible |
| OfficialTests | 5 pts | Partial Credit Possible |