Installing Java, VS Code
VS Code is an open-source editor by Microsoft. Since its release in 2015, VS Code has become incredibly popular. See, for example, the 2023 Developer Survey by Stack Overflow.
VS Code has support for many languages, including Java, C/C++, JavaScript, Python, and more. This page explains how to install and configure VS Code for Java in CS 159.
Background Information
-
JDK stands for Java Development Kit. You need a JDK in order to develop Java programs. OpenJDK is a free and open-source implementation of Java.
-
Eclipse Temurin is the OpenJDK distribution from the Adoptium working group. Adoptium is a community project supported by many companies with an interest in OpenJDK.
Note
If you are on a CS lab machine, OpenJDK and VS Code are already installed. Skip to Step 3.
Step 1: Install OpenJDK
Updated 01/22/24
We recommend you install Java 17, because that is the version installed in the computer labs and on Gradescope. If you install a later version, you might have unexpected errors.
Visit the Latest Releases page and use the drop-down boxes to select the following options:
- Operating System
- Select macOS or Windows, depending on your laptop.
- Note: If you're running Linux, install the JDK this way:
sudo apt install openjdk-17-jdk openjdk-17-source
- Architecture
- For Windows, select
x64. - For macOS, select
aarch64. (Or selectx64if you have a Mac from before 2021.)
- For Windows, select
- Package Type
- Select
JDK(Java Development Kit).
- Select
- Version
- Select
17 - LTS(Long Term Support).
- Select
Figure 1 shows how the page looks on Windows.
After downloading, run the installer (Figure 2).
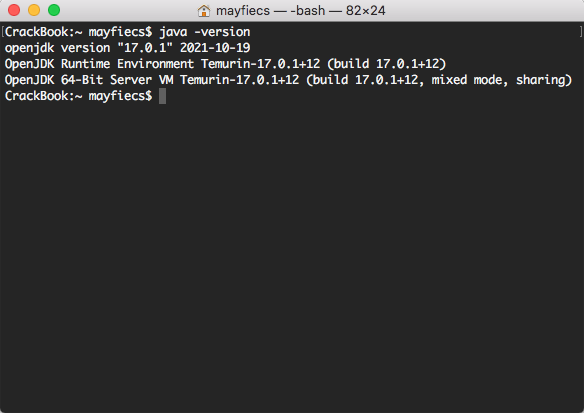
To verify the installation was successful, open a Terminal and type java -version (Figure 3).
Your version number will likely be newer than the images below.
Figure 1: Downloading JDK 17 on Windows
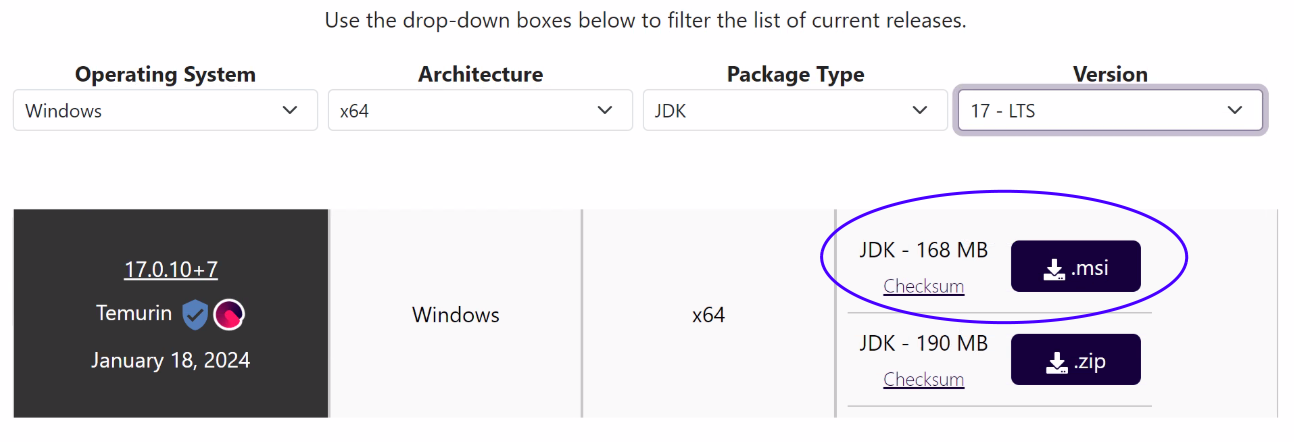
Figure 2: Running the Installer on macOS
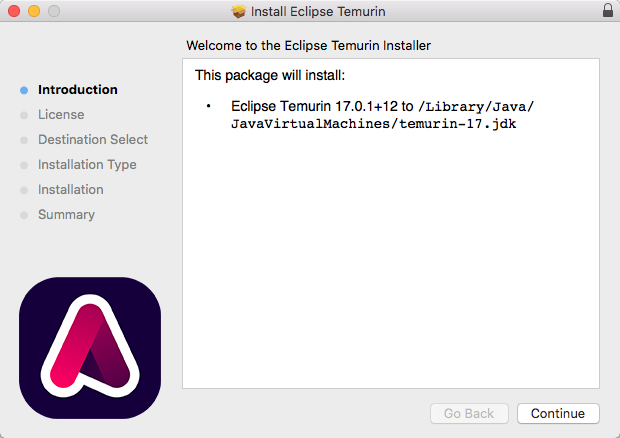
Figure 3: Running Java in the Terminal
Step 2: Install VS Code
Visit code.visualstudio.com and click the Download button.
- On Linux, install the deb or rpm package. Additional details are available here.
- On macOS, drag the app to the Applications folder. Additional details are available here.
- On Windows, run the installer and follow the steps. Additional details are available here.
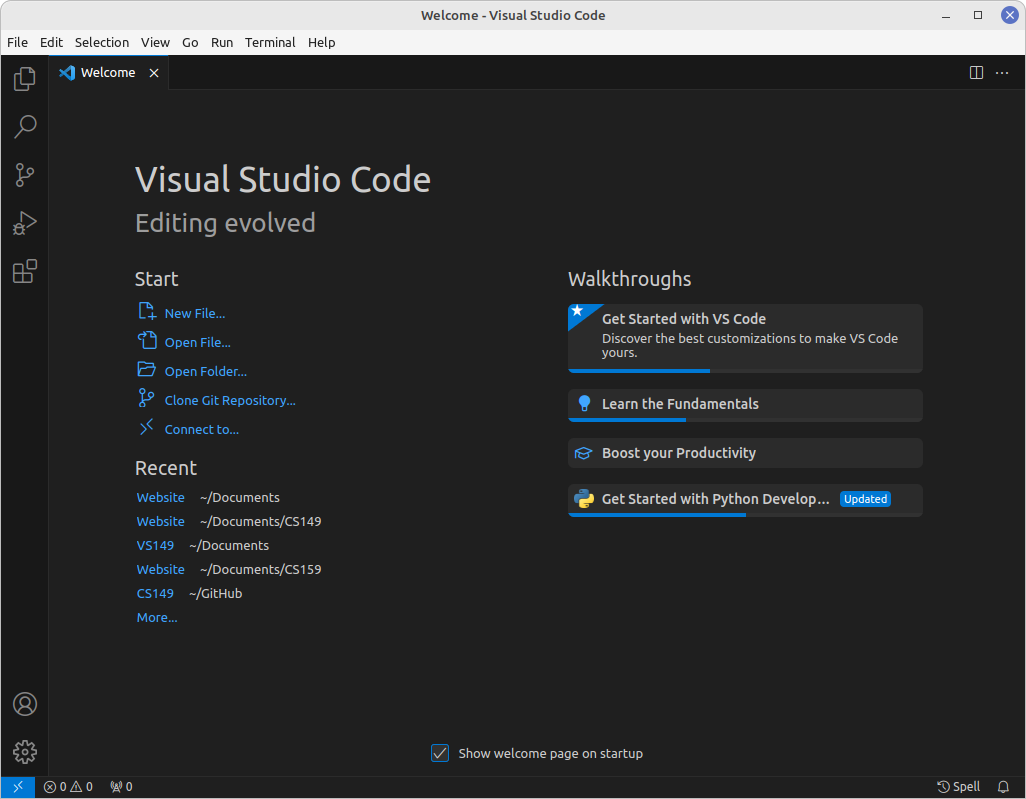
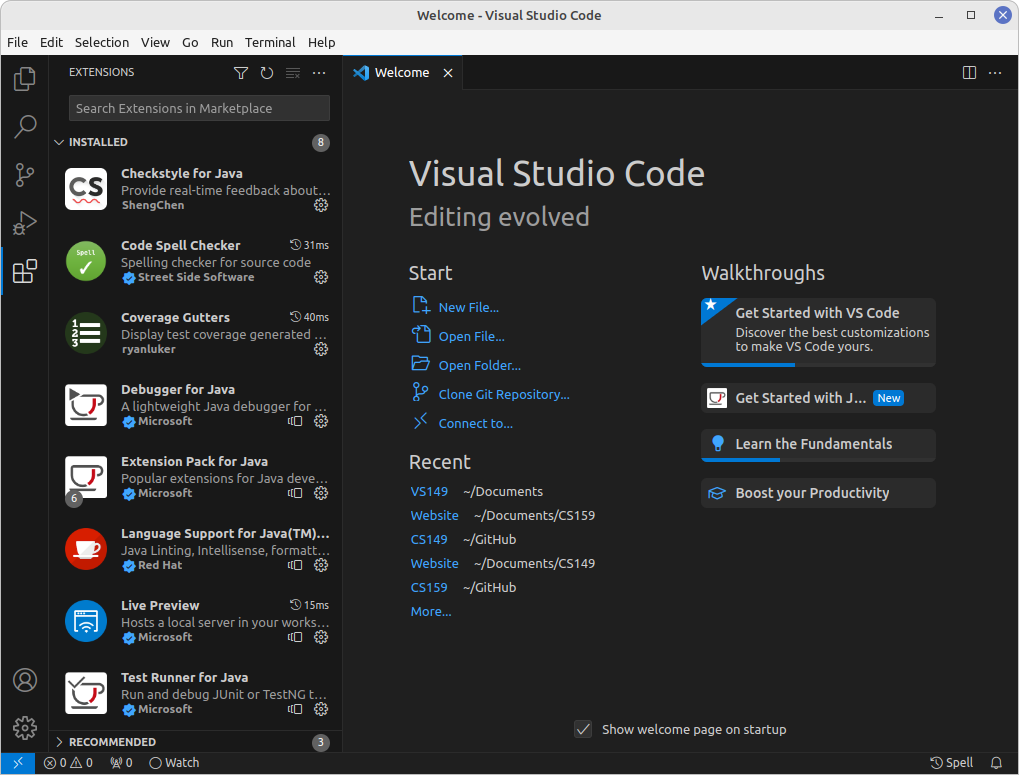
If you are running VS Code for the first time, you should see the Welcome Page. If you have used VS Code in the past, you will likely see your previous files.
Figure 4: VS Code's Welcome Page
Step 3: Install Extensions
Extensions add new features and languages to VS Code. Developers can publish extensions via the Marketplace.
Warning
For CS 159, we strongly discourage the use of AI tools. Do not install extensions like GitHub Copilot, ChatGPT, etc. You may use these tools in later courses and in your career. But for now, AI tools will likely interfere with your learning.
- Click the Extensions icon in the Activity Bar (on the left).

- Search for (by name) and install the following extensions:
- Uninstall the following unneeded extensions (that come with the Extension Pack):
In the end, you should have the following extensions installed:
Figure 5: List of Installed Extensions
Step 4: The CS159 Folder
Download and open (extract) CS159.zip, which contains a CS159 folder.
You will use this CS159 folder throughout the semester.
Move the CS159 folder to where you store your other files for school.
Note
Ideally you should have a separate folder for each course you take.
Do not store the CS159 folder in your Downloads.
After you have moved the CS159 folder, delete the CS159.zip file in your Downloads.
Now open the CS159 folder in VS Code.
You should see the following subfolders:
.vscode– settings and configuration files for CS 159bin– binary files, which will be created automaticallylib– required libraries, such as JaCoCo and JUnitsrc– source files, where all your programs will go
Important
Make sure you have the entire CS159 folder open in VS Code.
Otherwise, none of the settings or libraries will be active.
To open the CS159 folder, go to File → Open Folder.
Open src/demo/HelloWorld.java, and press F5 to run the program.
VS Code will open a Terminal window.
The terminal shows: (1) the command used to run the program, and (2) the program's output.
For each homework or lab, you will add a new subfolder under src.
Eventually, you will have many .java files across many subfolders.
Going Further (optional)
The official tutorial by Microsoft is available here: Getting Started with Java in VS Code (see the 14 articles linked on the left of that page).
You don't need to read the official tutorial. As the semester progresses, you will learn what you need to know by experience.