CS 354 Autonomous Robotics
Fall 2020
Installing an Ubuntu/Mint Virtual Machine with VMWare Fusion on a Mac
A virtual machine image is maintained by JMU's Unix User Group (UUG). This set of instructions starts with that image and suggests a few customizations for CS 354.Very important
Note that you MUST install the Spring 2020 version of the machine from the image file image-sp20a.ova. The version of ROS 2 used in this class (Dashing) is not supported under Ubuntu/Mint 20.Install VMWare Fusion and the Virtual Machine Image
- Download and install the VMWare Fusion (the regular version, not the Pro) from https://www.vmware.com/products/fusion/fusion-evaluation.html
- Download the virtual machine image This file is rather large (1.8 GB).
- Start VMWare Fusion, accept the trial period and send Dr. Molloy an email so he can obtain a license key for you (or if you selected Mac on the course survey then you can avoid sending the email).
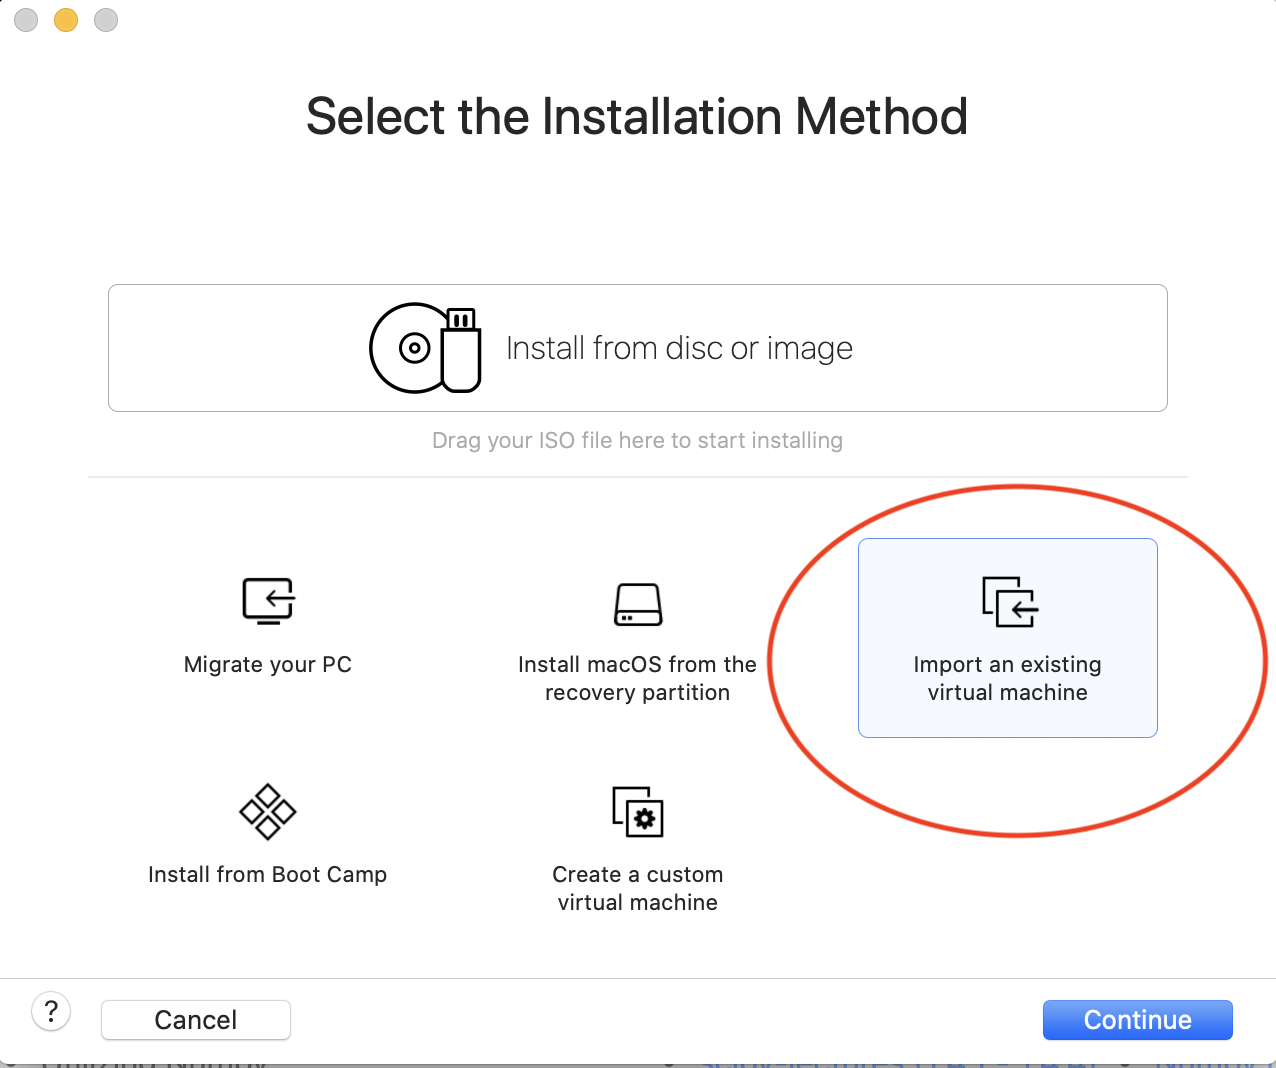
- Select the "+" key (circled below in red), and then New... from the menu (circled below in blue).
- Select Import an existing virtual machine (circled below in red). Then navigate to and select the image-sp20a.ova file you downloaded
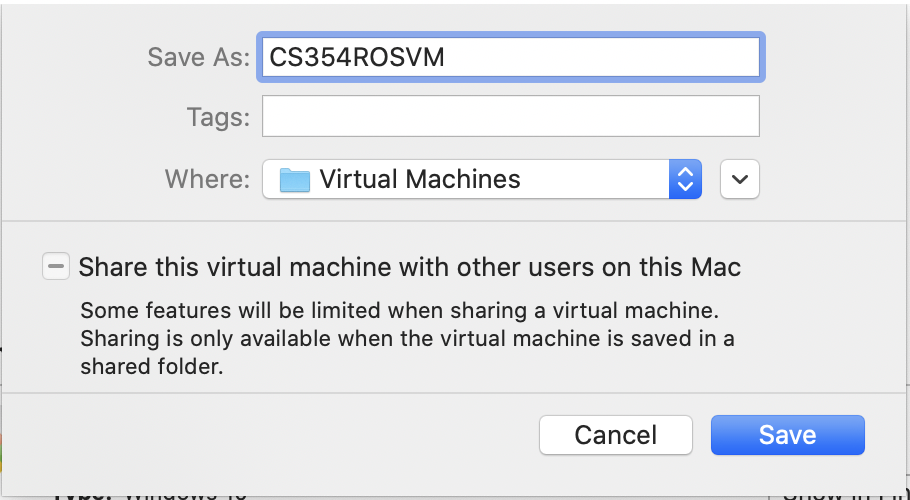
- Select a name for your VM and then click save (screen capture shown below)
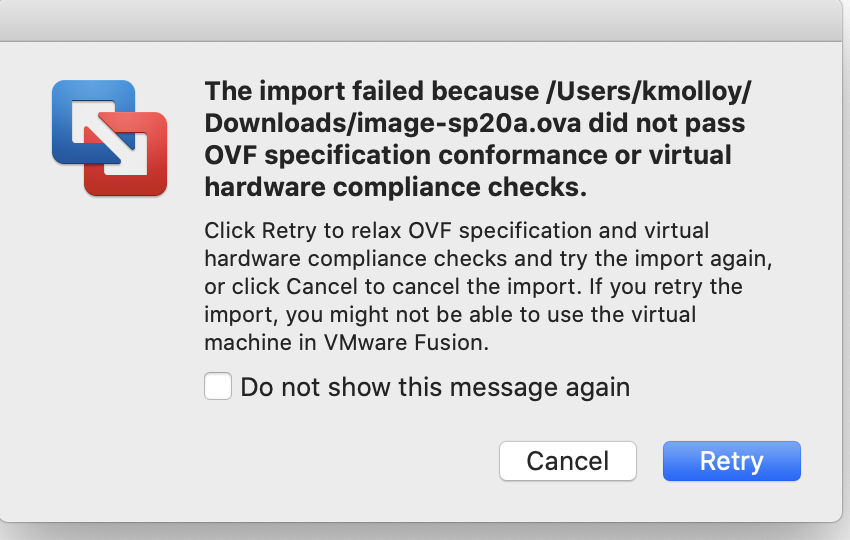
- You may receive a message indicating that the file did not pass OVF specification conformance, you can click retry and it should import this time
- You can then right click on the virtual machine in the list and click settings. (see below). Then click on the processors & memory and increase the number of processors (at least 2) and memory (4 G if you can do it). Then click the Display and click the Accelerate 3D Graphics.
- Start your machine

- Select English and then continue
- Take the default keyboard (English (US) and press Continue
- Take New York as the default timezone, and press Continue
- Select your name (use your e-id. For example, I used molloykp). This will auto populate the next 3 fields.
- Select a password and then press Continue
Install Guest Additions and Configurations
To allow your VM to run more smoothly, install the VMWare additions.
- Start your VM and log in
- Start a terminal window, and run the following commands
- Shutdown your VM
- Verify in settings that you 3d acceleration is still selected (wrench icon, Display). I also select under battery life to always use high performance graphics.
                         sudo apt-get update
                         sudo apt-get install open-vm-tools -y
                         sudo apt-get install open-vm-tools-desktop -y