Visual Studio Code Setup
VS Code is an open-source editor by Microsoft. Since its release in 2015, VS Code has become incredibly popular. See, for example, the 2023 Developer Survey by Stack Overflow.
VS Code has support for many languages, including Python, Java, C/C++, JavaScript, and more. This page explains how to install and configure VS Code for Python in CS 149.
Note
If you are on a CS lab machine, Python and VS Code are already installed. Skip to Step 3.
Step 1: Install Python
Thonny comes with Python built-in, which is ideal for beginners. But generally, you need to install Python separately.
Visit python.org.
Download the installer for your operating system, and run the installer.
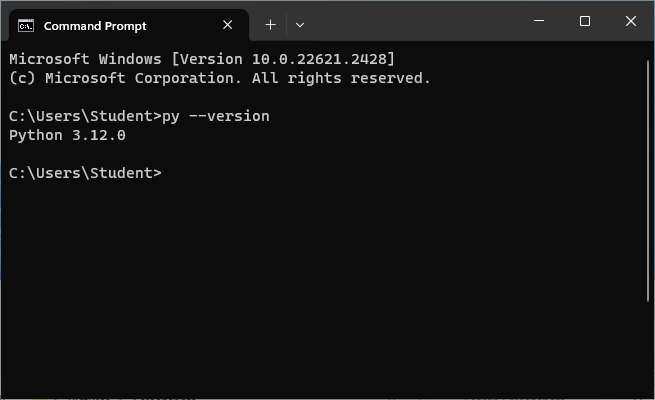
To verify the installation was successful, open a Terminal and
type either python3 --version (on macOS) or py --version (on Windows).
Your version number might be newer than the images below.
Tip
On Windows, check the box for "Add python.exe to PATH".
Figure 1: Running the Python Installer
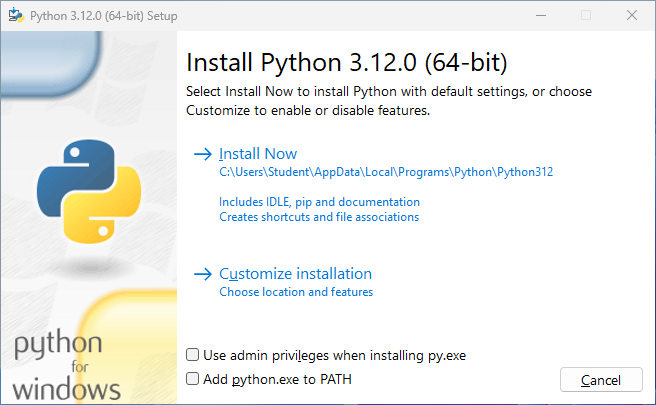
Figure 2: Running Python in the Terminal
Step 2: Install VS Code
Visit code.visualstudio.com and click the Download button.
- On macOS, drag the app to the Applications folder. Additional details are available here.
- On Windows, run the installer and follow the steps. Additional details are available here.
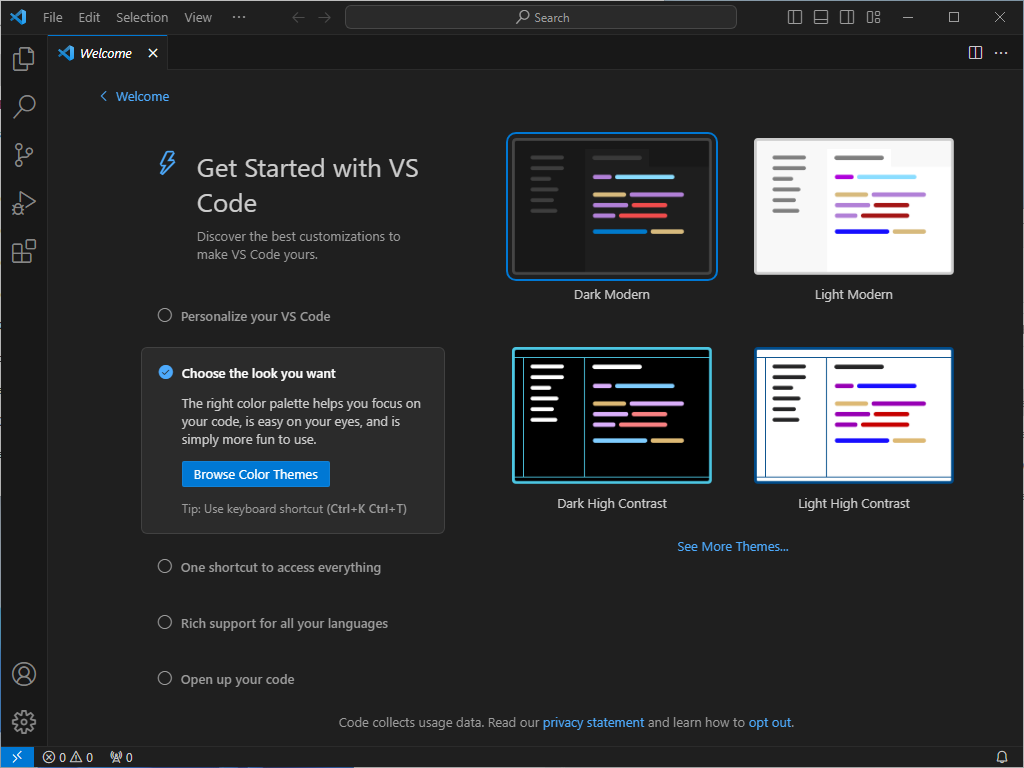
When you run VS Code for the first time, you should see the Welcome page:
Figure 3: VS Code's Welcome Page
Step 3: Install Extensions
Extensions add new features and languages to VS Code. Developers can publish extensions via the Marketplace.
Warning
For CS 149, we strongly discourage the use of AI tools. Do not install extensions like GitHub Copilot, ChatGPT, etc. You may use these tools in later courses and in your career. But for now, AI tools will likely interfere with your learning.
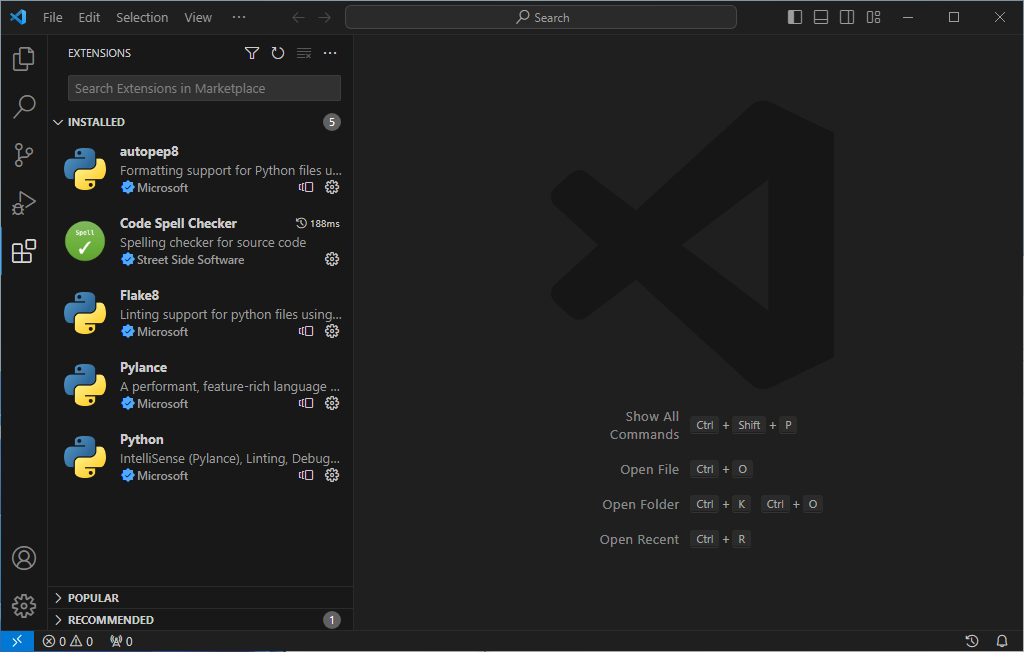
- Click the Extensions icon in the Activity Bar (on the left).
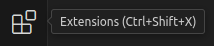
- Search for (by name) and install the following extensions:
Note: The Python extension also installs Pylance. In the end, you should have the following five extensions installed:
Figure 4: List of Installed Extensions
Step 4: Python Packages
In order to run flake8 with the CS 149 settings, you need to install a few packages. Previously, we had you install these packages via Thonny. Now that you have a separate Python installation, you will need to install the packages again. In VS Code, open a Terminal by pressing Ctrl+` (the tilde key above the tab key). Run the following command for your operating system:
- On macOS:
pip3 install darglint flake8-docstrings pep8-naming pytest - On Windows:
py -m pip install darglint flake8-docstrings pep8-naming pytest
Step 5: User Settings
VS Code has thousands of settings that you can customize. The following settings are recommended for CS 149. You are welcome to change any of these and add your own.
- Press F1 to open the command pallette.
- Type
user jsonand press Enter.- This will open a file named
settings.json.
- This will open a file named
- Paste the following settings between the curly braces:
"breadcrumbs.enabled": false, "editor.minimap.enabled": false, "editor.scrollBeyondLastLine": false, "files.insertFinalNewline": true, "files.trimFinalNewlines": true, "files.trimTrailingWhitespace": true, "terminal.integrated.allowChords": false, "workbench.tree.indent": 16, "autopep8.args": [ "--max-line-length=100" ], "flake8.args": [ "--select=D,DAR,E,F,C90,N", "--ignore=D401,W,E226,E123,W504,N818,E704,E24,E121,E126", "--max-line-length=100", "--docstring-convention=google", "--docstring-style=google", "--per-file-ignores=test_*:D103" ] - Save and close the
settings.jsonfile.
At this point, you can open any folder in VS code and start programming. Good luck with your upcoming projects!
Going Further (optional)
The official tutorial by Microsoft is available here: Getting Started with Python in VS Code (15 articles). You don't need to read the tutorial. We will teach you what you need to know.