
/**
 * CS149 - Programming Fundamentals
 * Department of Computer Science
 * James Madison University
 * @version Fall 2019
 */
Getting started with Eclipse, Part II
Checkstyle Eclipse Integration
- Navigate to the following web-page in a separate browser window or tab: http://eclipse-cs.sourceforge.net. Drag the blue "Install" button onto your Eclipse window and follow the instructions for installing the plugin.
- Download the following XML file to your Desktop: CS149-Checkstyle.xml. This file contains a Checkstyle configuration that matches the CS149 style guide.
- Configure the Checkstyle plugin to use the configuration file: Window -> Preferences -> Checkstyle -> New. Select "External Configuration" as the Type and then select the file you downloaded in the previous step. Click "OK" and then set this configuration as the default.
-
Unfortunately, Checkstyle needs to be explicitly enabled for each new
Eclipse project. Right click your
HW9project in the "Package Explorer" tab and then select Properties -> Checkstyle. Click on the check-box labeled "Checkstyle active for this project". - Once you have completed the previous step, navigate to one of your HW9 files, right-click in the editor window and select Checkstyle -> Check Code with Checkstyle. Many lines of code should now be marked in yellow. Clicking on the yellow magnifying glasses in the left margin will show you a description of the problem. We'll fix these problems in the next part of the lab.
Formatter
The Eclipse formatter will automatically fix most style errors in your programs. Download the configuration file CS149-Formatter.xml (right-click and "Save link as..."), and save it under your CS149 workspace folder (not your Downloads folder).
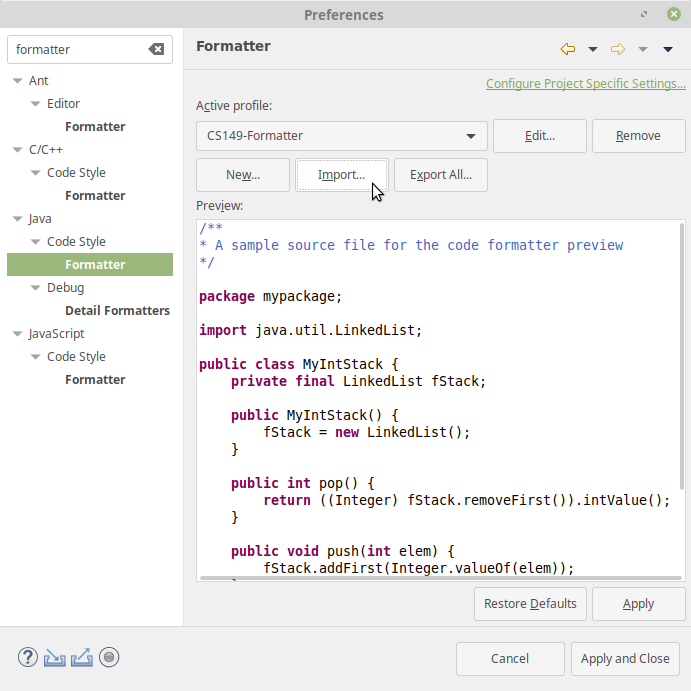
Go back to the Window > Preferences menu (or Eclipse > Preferences on a Mac). Search for the word formatter, and click "Formatter" under "Java > Code Style". Then click the "Import" button, and navigate to the CS149-Formatter.xml file.
When finished, you should have CS149-Formatter as the active profile, as shown in Figure 10. Click "Apply and Close" to save your progress.
JUnit Eclipse Integration
Like jGRASP, Eclipse is able to auto-generate a starter JUnit test file with the appropriate imports:- Select File -> New -> JUnit Test Case. Select "New JUnit 4 test". Click Next, and select the class you want to test. Eclipse will automatically generate stub testing methods.
- To run JUnit tests, select Run -> Run As -> JUnit Test.
- You can check your test coverage by by right-clicking your project or JUnit file and selecting 'Coverage As' -> JUnit Test.
- You can select which coverage metric to display (Line Counters, Branch Counters etc.) by clicking on the downward-pointing triangle icon in the "Coverage" window.