This is the multi-page printable view of this section. Click here to print.
Labs
1 - Meet the Turlebots Lab
Meet the Turtlebots
Turtlebot
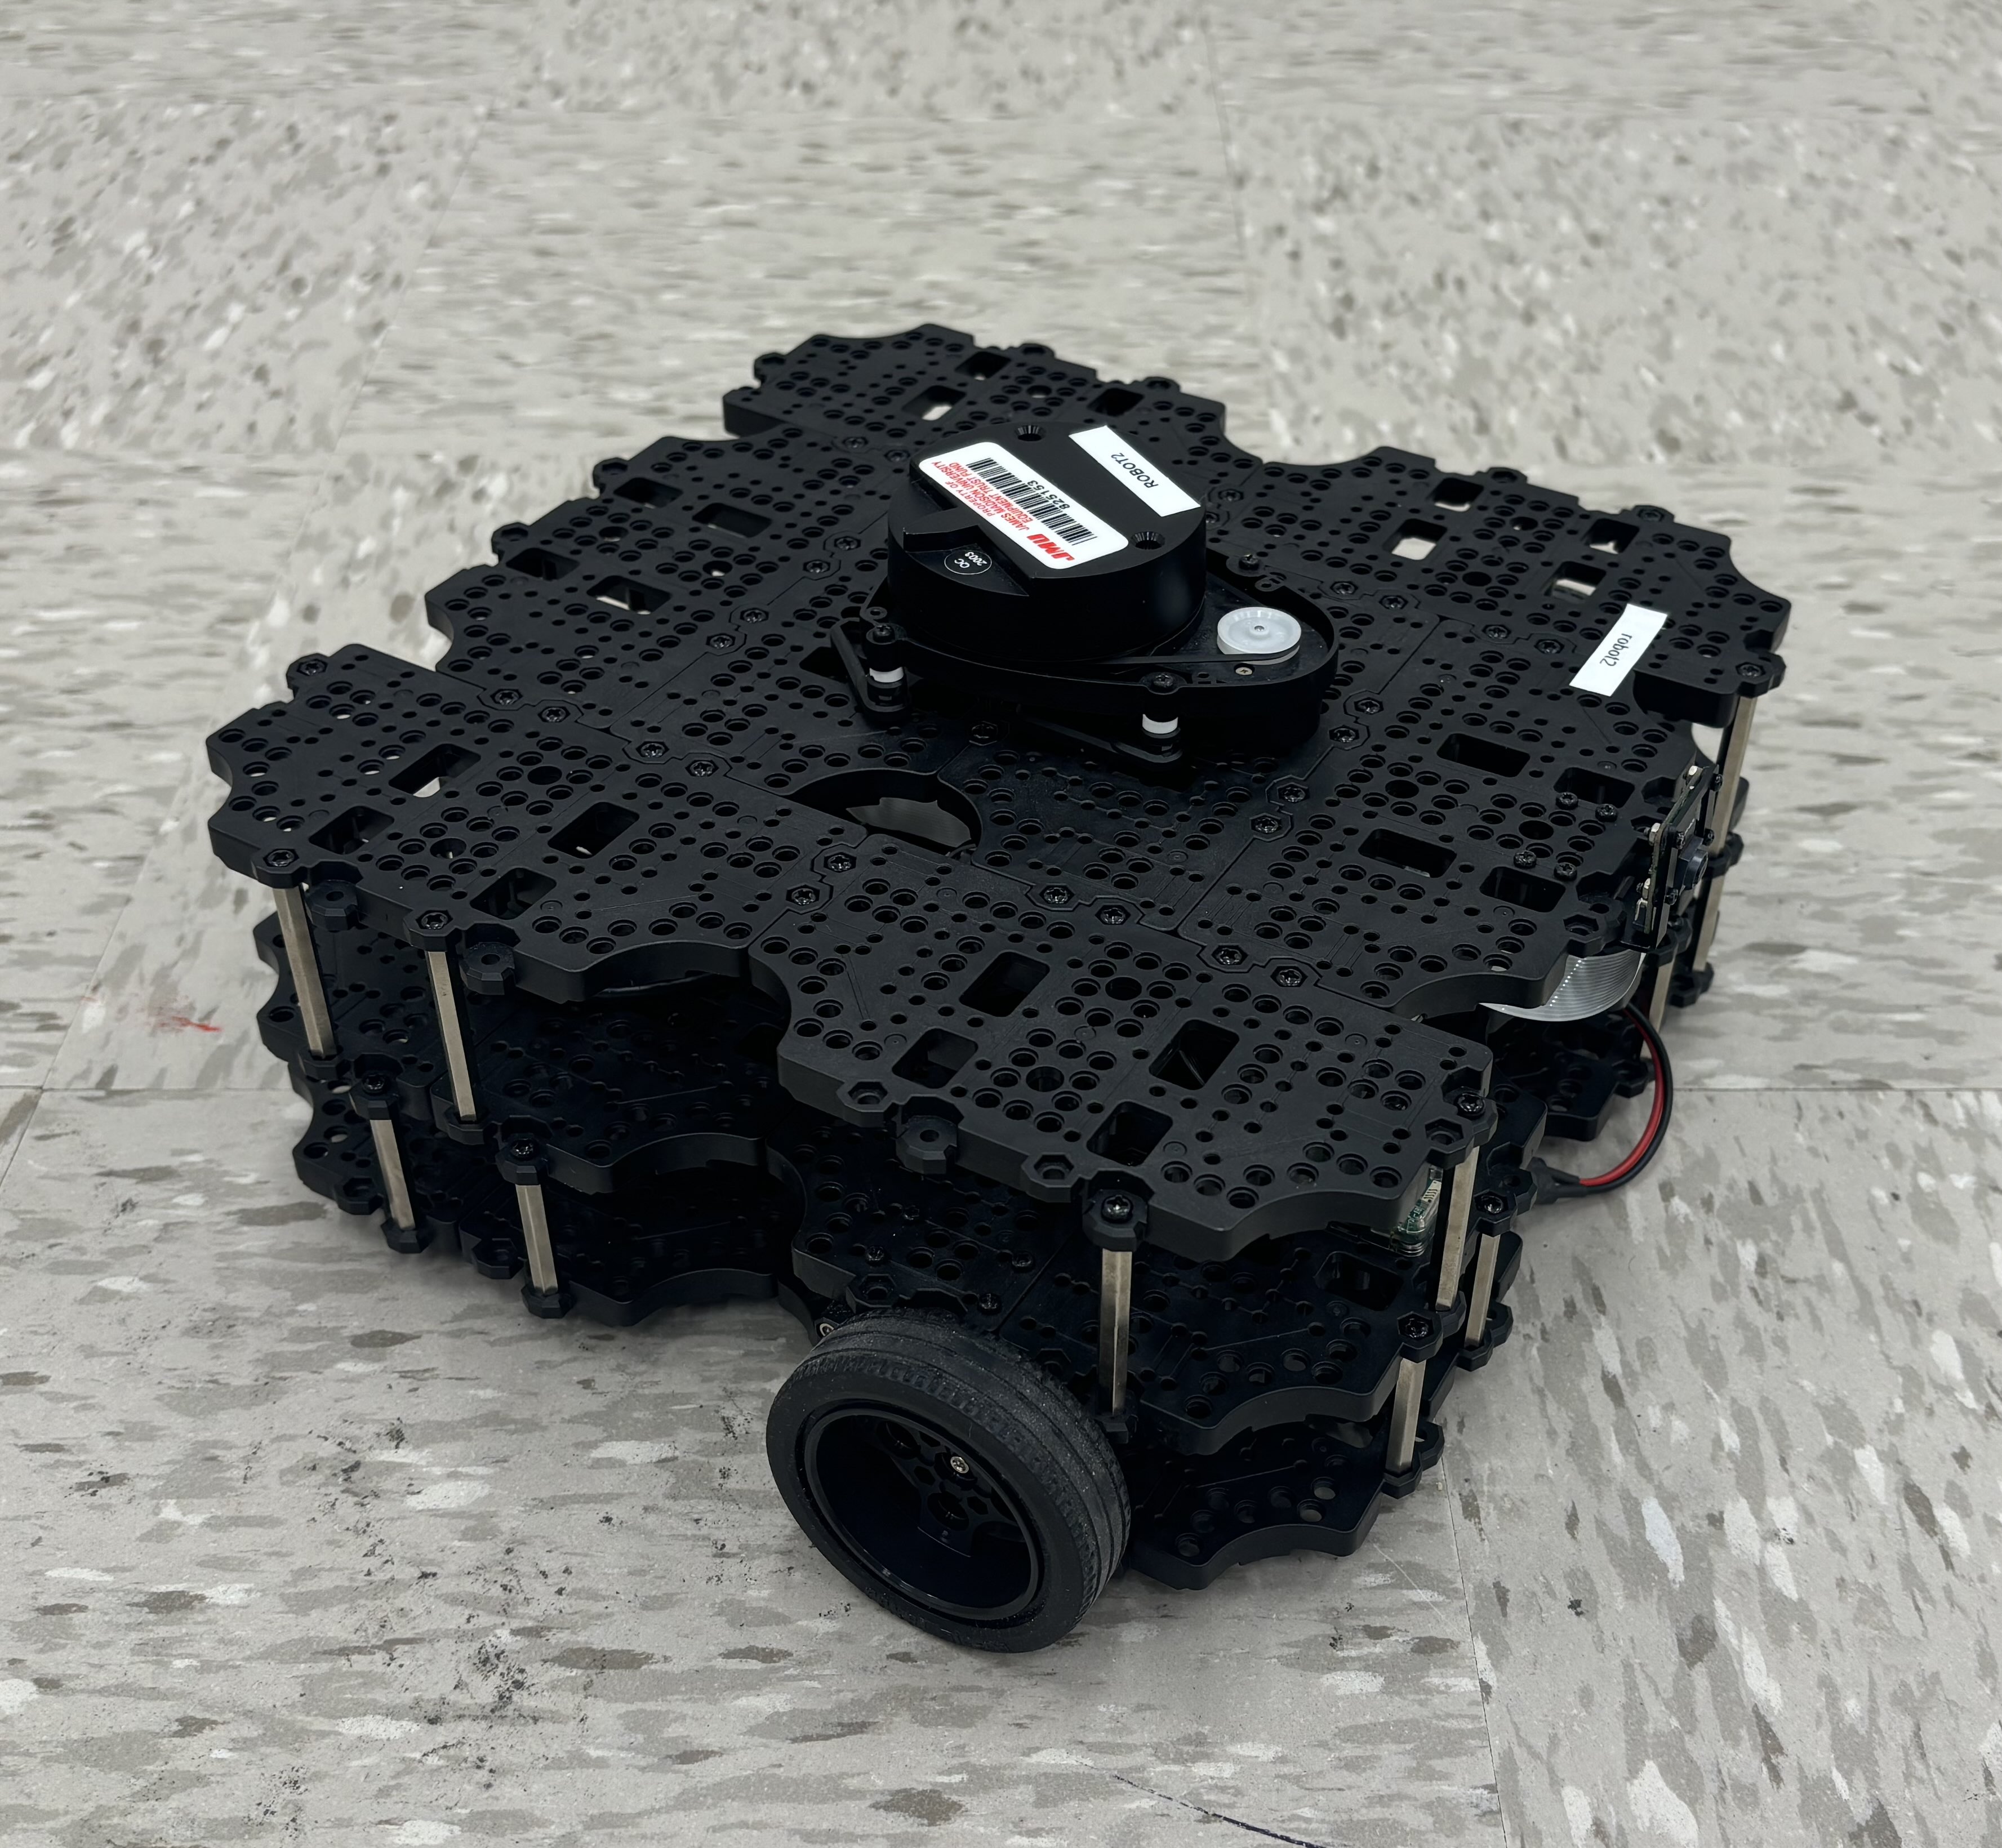
The goal of today’s activity to gain experience working with the Turtlebots. Some of us might be intimidated by robotic, as shown here in this video of our dog Penny’s reaction. These are the main robots that we will be using in CS 354.
This lab will be worked in groups of 4. There are two parts to today’s lab and you can complete them in either order. At the end of each part, have the instructor review your work so that you will get credit for it.
Part A – Working with the Real Robot
-
Obtain a laptop from the cabinet. This will be your laptop for the class. Login to the laptop using your EID and password.
-
Obtain a robot from the cabinet. Note that the robots are numbered “robot1”, “robot2” etc. Pay attention to the number associated with your robot. Plug in the battery and switch on the robot. Wait around 30 seconds for the boot process to complete (you will hear a series of ascending notes when the robot is ready).
-
Open a terminal on your laptop and enter the following command:
ros2 launch turtlebot3_bringup image_transport.launch.py -
Open a second terminal (or a new tab in your existing terminal) and enter the following command:
ros2 launch turtlebot3_bringup rviz2.launch.pyAt this point you should see a visualization of the robot sensor data. Take a minute to experiment with activating and deactivating the different displays in the rviz2 windows.
-
Open a third terminal and enter the following command:
ros2 run turtlebot3_teleop teleop_keyboardYou should now be able to drive the robot using keyboard input. Spend some time driving the robot and observing the sensor data.
-
Close rviz by pressing CTRL-C in the terminal where you launched it.
-
Now start rviz in an un-configured state by running the following command in that terminal:
ros2 run rviz2 rviz2Use the add button in the Displays panel to enable some visualization plugins so that you can, once again, see the sensor data from the robot.
-
Get my attention and show me that you have this working during class.
Part B - Simulation
-
Close ALL terminal windows you have opened on the laptop.
-
Note the number associated with your laptop by looking at the sticker on the lid. For example, if you have laptop “cslp48”, your number is 48.
-
Double click the script ros2_jmu_setup.sh , which should be located on the Desktop of your laptop. When prompted for the ROS_DOMAIN_ID, enter the number noted above. You don’t need to complete the git configuration.
-
Open a terminal on your laptop and enter the following command:
ros2 launch turtlebot3_gazebo turtlebot3_world.launch.pyThis starts Gazebo, which is a program that supports simulating some ROS activities without a physical robot.
-
Open a second terminal (or a new tab in your existing terminal) and enter the following command:
ros2 launch turtlebot3_bringup rviz2.launch.pyAt this point you should see a visualization of the robot sensor data. Take a minute to experiment with activating and deactivating the different displays in the rviz2 windows.
-
Open a third terminal and enter the following command:
ros2 run turtlebot3_teleop teleop_keyboardYou should now be able to drive the robot using keyboard input. Spend some time driving the robot and observing the sensor data.
-
Close rviz by pressing CTRL-C in the terminal where you launched it.
-
Now start rviz in an un-configured state by running the following command in that terminal:
ros2 run rviz2 rviz2Use the add button in the Displays panel to enable some visualization plugins so that you can, once again, see the sensor data from the robot
Submitting
There is nothing to submit for today, your grade is based on attendance and completing the task. Get my attention after you complete each part and I will notate that your group completed the task.
Acknowledgements
This assignment was originally developed by Nathan Sprague.
2 - PID Controllers
The goals of this lab are to gain experience working with PID controllers, launch files, and ROS2 parameters.
Resources
Tutorials:
- ROS2 Parameters
- [ROS2 Python Parameters] (https://docs.ros.org/en/humble/Tutorials/Beginner-Client-Libraries/Using-Parameters-In-A-Class-Python.html)
- [Creating a Launch File] (https://docs.ros.org/en/humble/Tutorials/Intermediate/Launch/Creating-Launch-Files.html)
- [Packaging a Launch File] (https://docs.ros.org/en/humble/Tutorials/Intermediate/Launch/Launch-system.html)
Source Dependencies:
- [Github Rocketbot] (https://github.com/JMU-ROBOTICS-VIVA/rocketbot)
- [Github JMU ROS2 Utility] (https://github.com/JMU-ROBOTICS-VIVA/jmu_ros2_util)
Deliverables
- Modified version of a rocket-control package that uses PID control to smoothly fly a rocket to a target location. PID gain values will be adjustable through ROS2 parameter settings.
- Commits by at least two group members.
Coding
-
Clone the two repositories listed in the dependency section above into your
~/dev_ws/srcfolder. Build and source the packages and confirm thatrocketbotis running correctly:ros2 run rocketbot rocketbot_node -
Accept the PID lab assignment invitation posted. The respository page for this lab already contains the starter code that you will be using. Clone the respository into your workspace folder:
cd ~/dev_ws/src git clone GIT_URL pid_practice -
Take a minute to read over the file
guidance.pyand the filerocket.launch.pyin the launch directory. Make sure you understand the contents of those files. Build and source your workspace. -
Launch
rocket.launch.pyin a separate terminal:ros2 launch pid_practice rocket.launch.pyYou can change the target altitude by clicking in the RocketBot simulator window. Use the
rqtPlot plugin to visualize /target/y and /location/y.
Using a PID Controller and Tuning Parameters
-
Modify guidance.py so that it uses the pid module (provided by the jmu_ros2_util package) to control the y-component of the thrust. You’ll need to look over the documentation in pid.py for the details of the API. Here is an example if instantiating a PID object:
from jmu_ros2_util import pid

# (set up gain values)

pid = pid.PID(p_gain, i_gain, d_gain, i_min, i_max)
The i_min and i_max arguments place lower and upper bounds on the magnitude of the term $I$ in the controller. If these aren’t set the controller can potentially accumulate a large amount of integral error when it starts a long way from the target value.
-
Experiment with different values for your gain parameters until you find settings that work well. The rocket should rise smoothly to the target altitude with minimal overshoot and oscillations. (I suggest resetting the PID controller when the target location changes. Otherwise the $D$ term will experience a large transient value that could cause significant overshoot.)
-
Once you are satisfied with your gain values, modify guidance.py so that it reads the PID gain values as parameters, then modify rocket.
launch.pyto set the parameters appropriately. Test the new launch file. Once everything is working, commit and push your changes. Make sure all members have joined the GitHub group.
PID for Horizontal Control
-
Have SOMEONE ELSE in your group clone your updated repository
-
Update
guidance.pyto handle horizontal as well as vertical control. Your finished control node should reliably move the rocket to whatever point the user clicks in the simulator window. NOTE: you will need to re-factor your solution (bothguidance.pyandrocket.launch.py) to specify separate gain values for horizontal and vertical control. -
Commit and push the completed version of your pacakge.
There is nothing to submit for today, your grade is based on attendance and completing the task. Get my attention after you complete each part and I will notate that your group completed the task.
Acknowledgements
This assignment was originally developed by Nathan Sprague.