Lab 5 - CSS: Layout
Due: .
Categories:
7 minute read
Layout
In this lab, you will use CSS and JavaScript to make a reactive page that changes layout dynamically. You will use a combination of fixed and flex-box display properties, then use buttons to change what classes are controlling the layout.
All code must validate cleanly (no errors or warnings) through the standard validation tools listed below. You must resolve all errors and warnings before submission. For individual CSS properties, please refer to the MDN reference list.
Starting Code
Start by extracting provided source code and opening the files in your preferred text editor:
For this lab, you will need to modify all three files and submit them to Gradescope.
Semantic structure and fixed navbar
- Start with the
index.htmlfile. Create anavelement containing an unordered list. Each item will contain abuttonwith anidattributed as specified in the file. No classes or other attributes should be added to any of these elements, as all presentation and dynamic features will be added using CSS and JavaScript. - Inside the
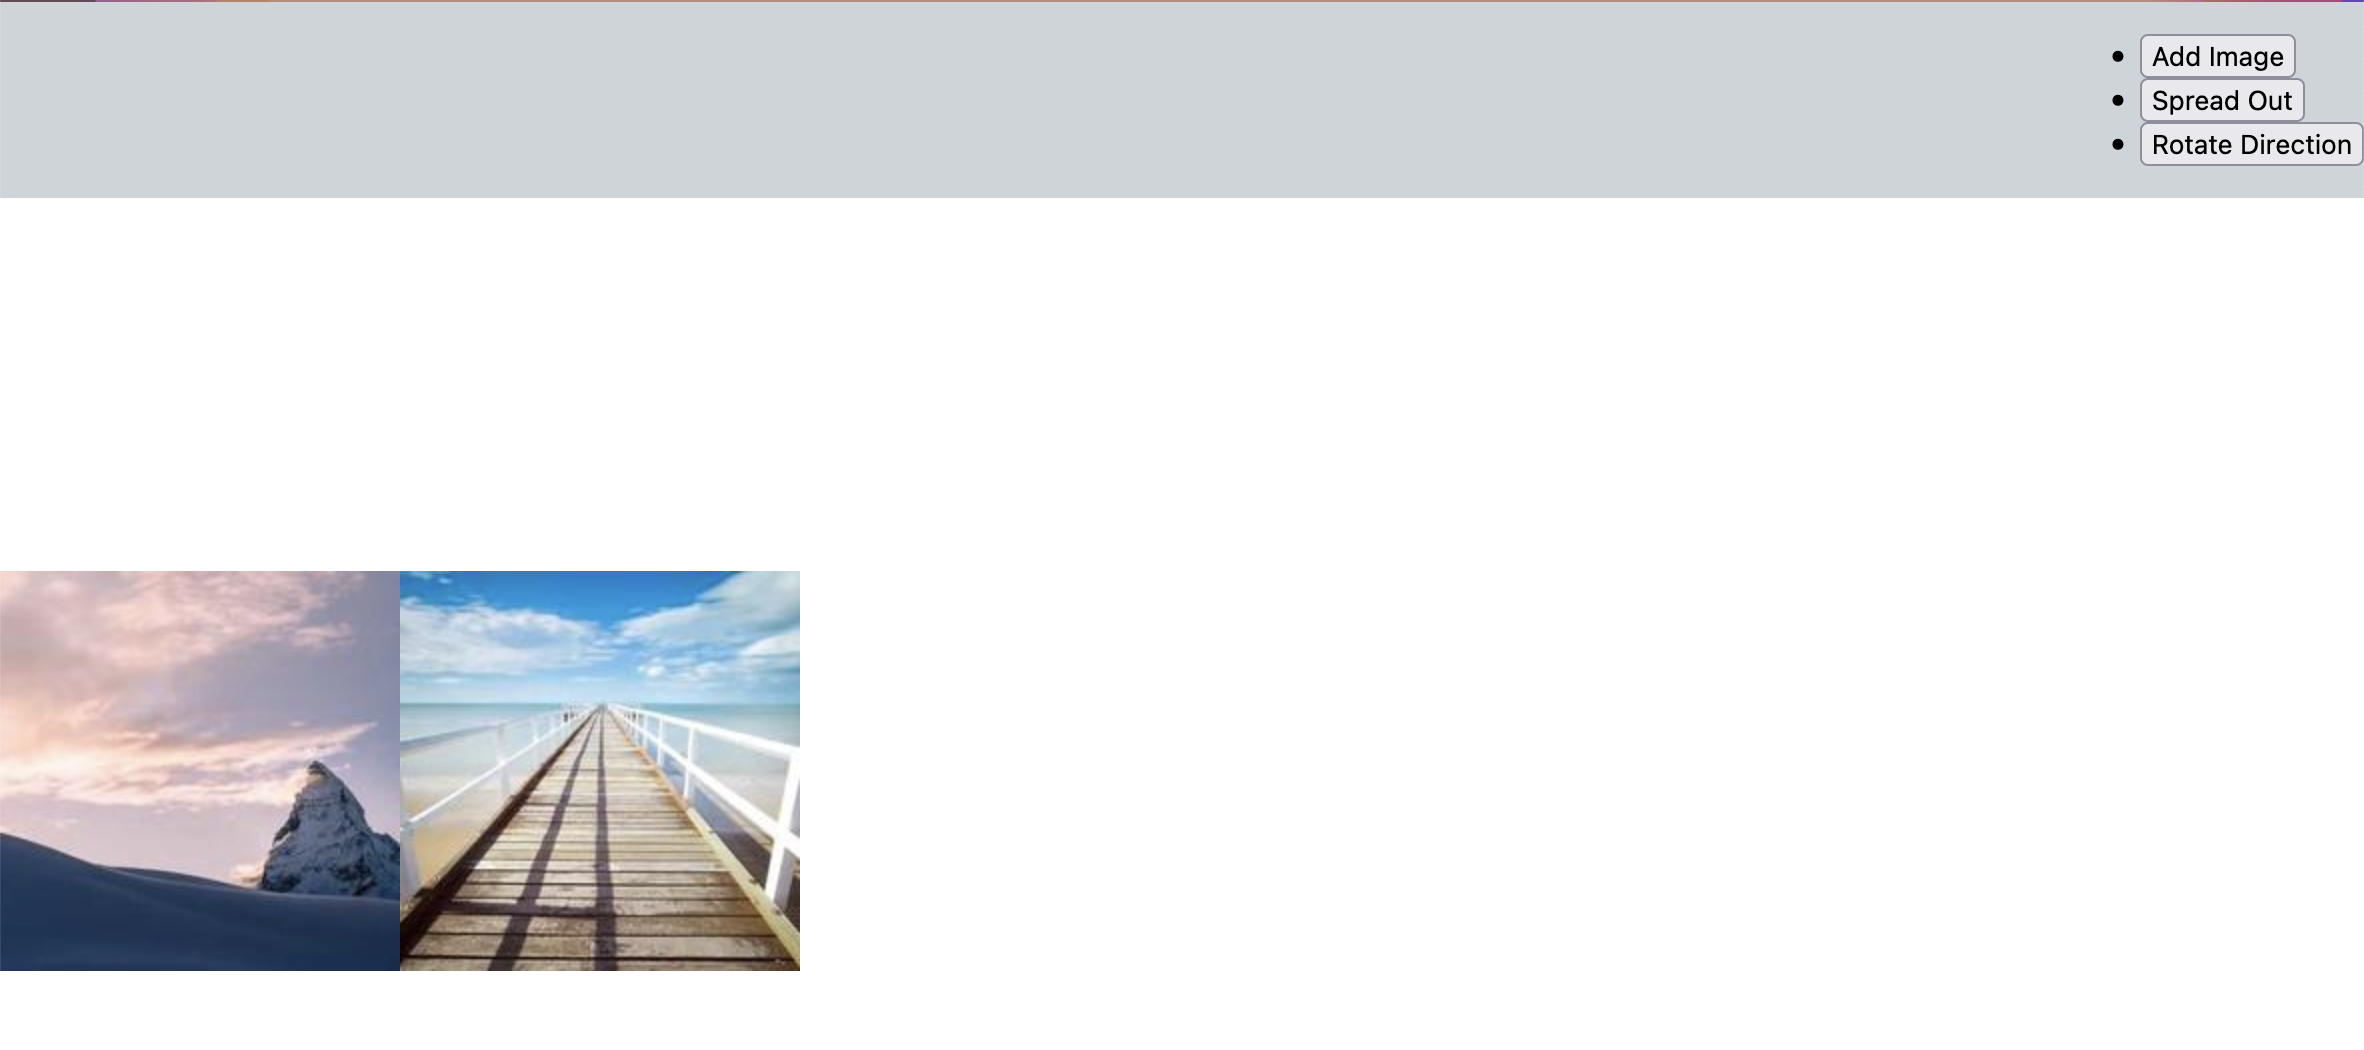
main, add 2 randomly selected SQUAREimgelements (200x200). Use picsum.photos to get the URLs for these images. Make sure to addalttext.- At this point, you should see a list with three bullet points with some ugly buttons next to them. Below that you should see two random images with a little bit of spacing around them.
- Add a
linkelement to theheadto referencestyles.cssand reload the page. What changed?
- In the
styles.cssfile, start by getting theheaderandmaininto position. To do this, specify the appropriate properties to theheaderandmainrules (includingdisplayandposition) according to the comments. Set the color variables in the:rootrule and give theheadera background so you can see it.- Reload the page to check your progress.
- Wow, those buttons look bad! Let’s fix them.
- Use descendant selectors to update the
navlist and list items. Get rid of the bullet points, add a right margin, and switch the list items to be in a row rather than a column (i.e., switch them from block to inline). - They’re still kind of ugly. Use a descendant selector to update the
buttonstyle properties. Add some padding and increase the font size. Give them no border but useborder-radiusto curve the corners. Use those spiffy color variables you defined up in:root. - OK, now we’re making progress.
- Use descendant selectors to update the
Dynamic buttons
- Buttons look and feel so much better when they appear to react when we move the mouse
over them or click on them. Let’s take care of that.
- Add a new rule for the
buttonwhen it is in the:hoverstate. When this happens, give the button anoutlinethat is at least 3px in size and matches the text color of the button. - We won’t be able to use it yet, but add another rule based on the
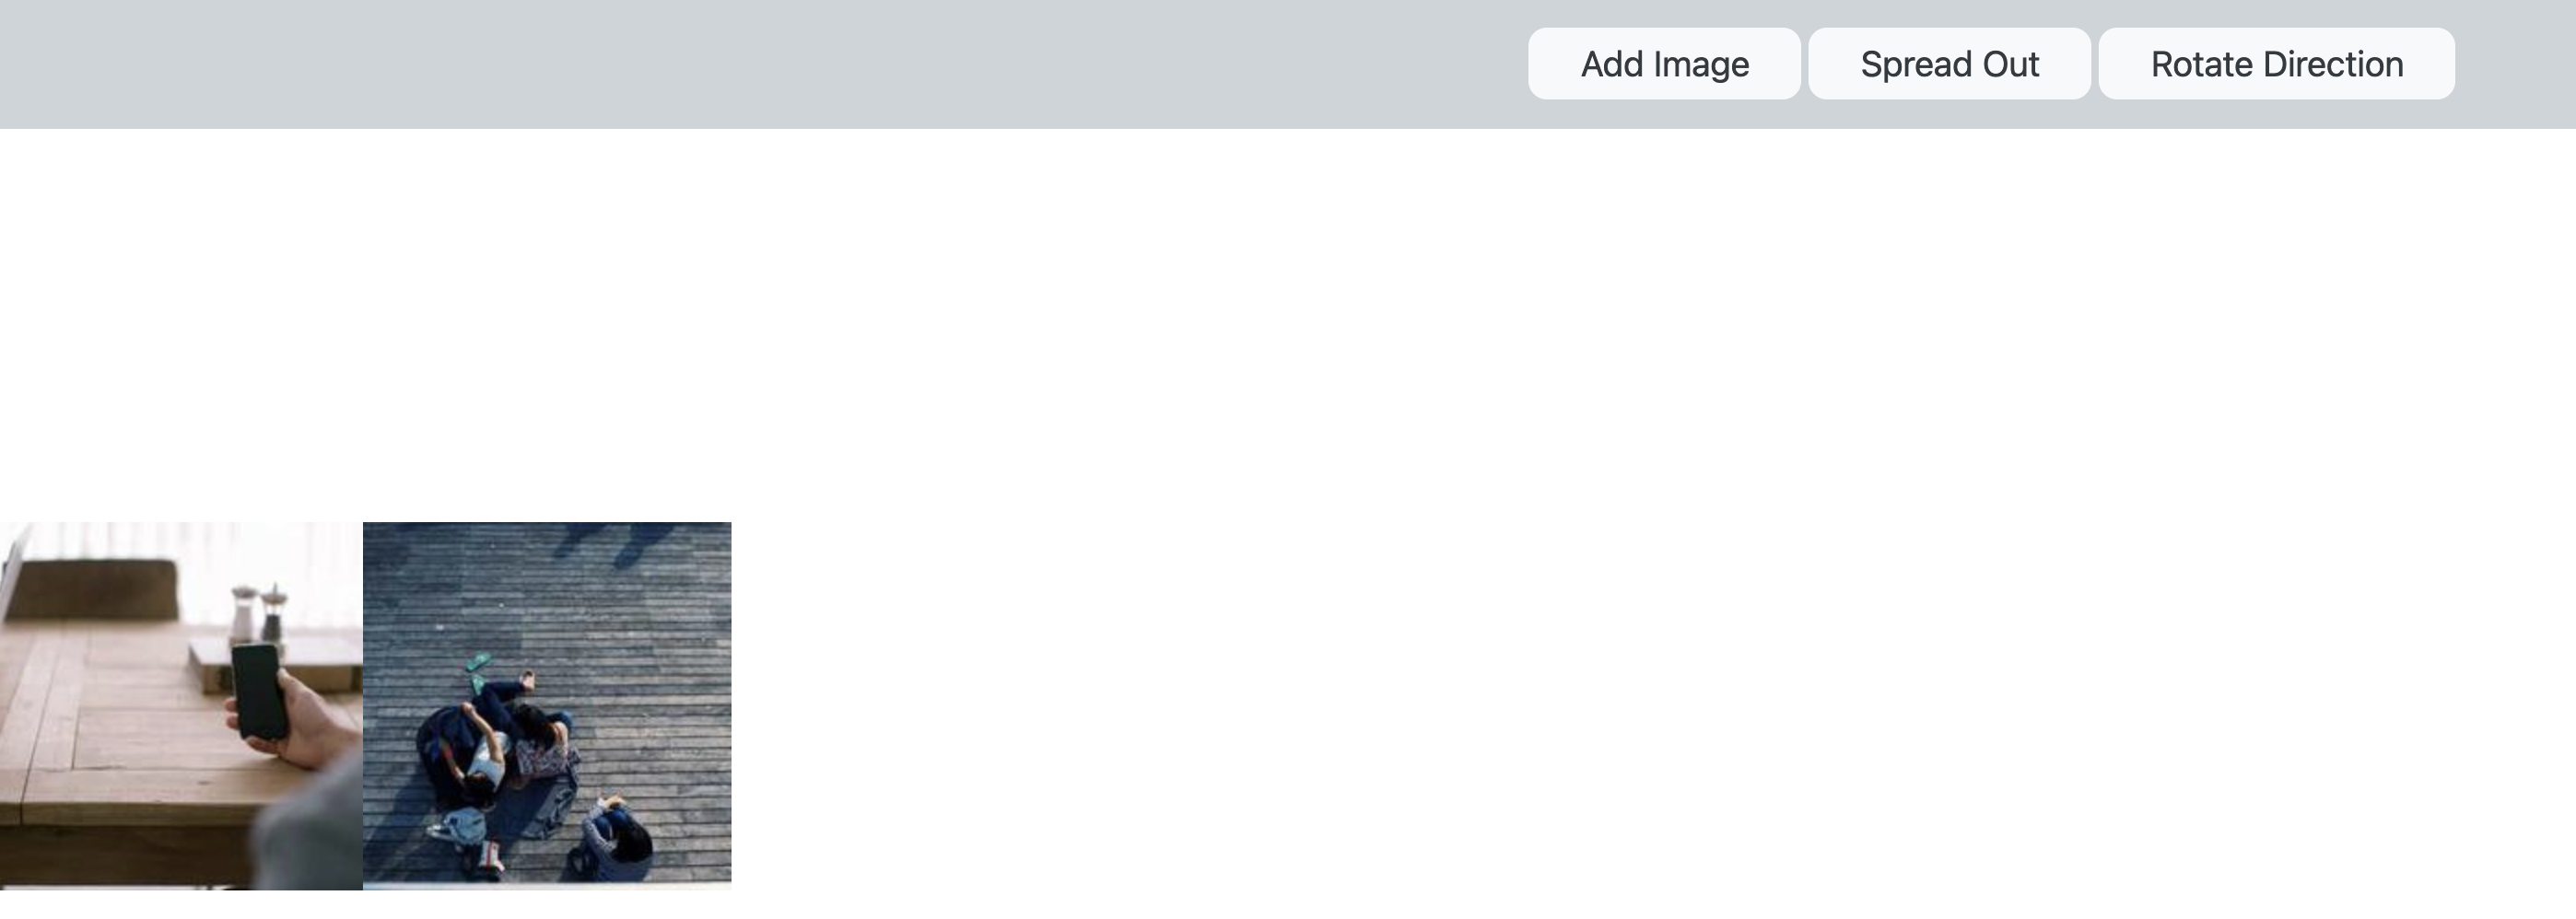
buttonalso having a class calledactive. In this class, switch the text and background colors of the button. - That’s starting to look nice. In this image, the “Spread Out” button
has the
activeclass while the mouse is hovering over “Rotate Direction”.
- Add a new rule for the
- The
:hoverpseudoclass is automatically built into the web browser, but we need to do some work for theactiveclass. It’s JavaScript time!- Add a
scriptelement toindex.htmlto referenceflex.jsthen open this file. - The default implementation shows a pop-up box when you click the “Spread Out”
button. Get rid of that and replace it with code that adds or removes the
activeclass we created a bit ago. To do this, we’re going to manipulate thespreadButton.classList. Rather than keeping all the classes in a string (which you would do in HTML), the DOM maintains them as a list. - If you write more than one line of code here, you’re doing it wrong. Yes, you can
add some logic this:
But really? Why? Just use
if (spreadButton.classList.contains('active') { // Button has class="active" so remove it spreadButton.classList.remove('active'); } else { // Button doesn't have the class so add it spreadButton.classList.add('active'); }toggle, which does that work for you. - If you click on the “Spread Out” button, it should turn dark. Click it again and
it goes back to the original coloring. If it works, add some more code to do the
same thing for the “Rotate Direction” button. You’ll need to add a new variable
at the top of the file, then add code similar to what was provided for the
spreadButtontoward the bottom of the file.
- Add a
Flex
- Toggling button colors is cool, but it’d be even better if the buttons…actually
did something? Let’s start with spreading things out.
- Head back to
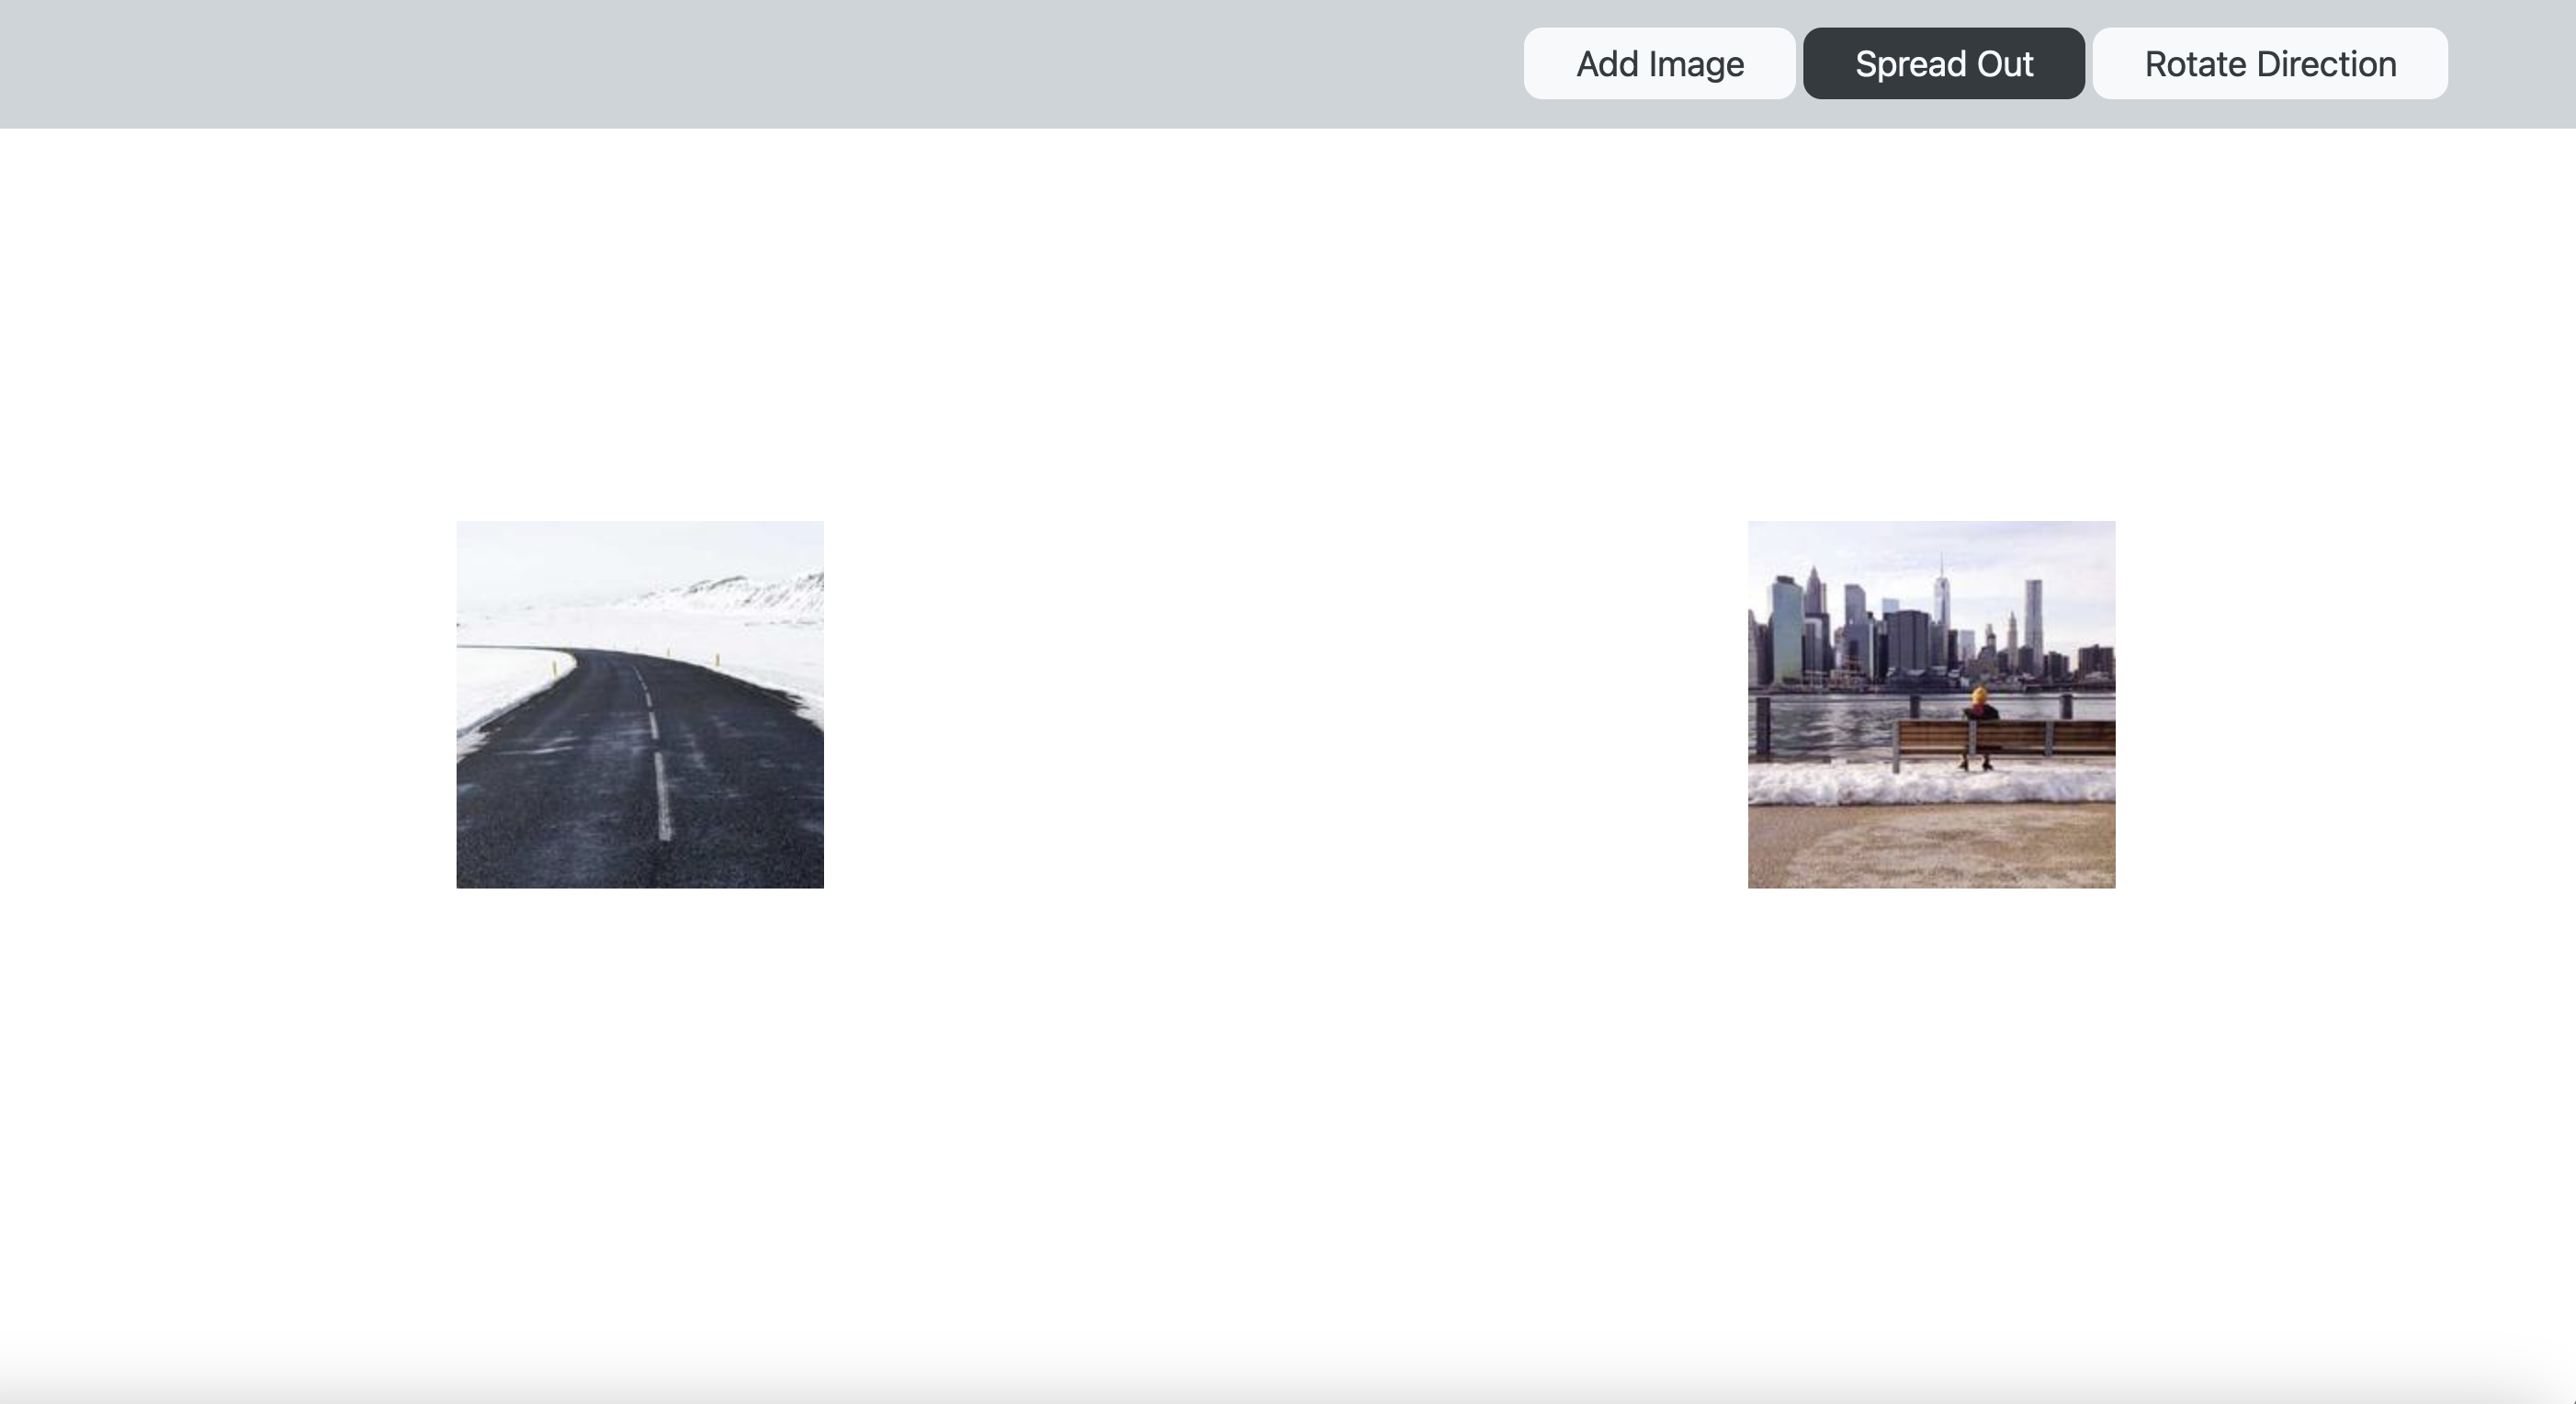
styles.css. Create a new rule that only applies to themainelement when it has the “spread” class. This rule will use thespace-aroundvalue to add spacing to elements along the main axis. - Give it a try to make sure you’ve got the flex-box set up properly. If you load
page, the images should be centered vertically and pushed all the way to the
left edge of the window. But if you add the
class="spread"to themainelement in the HTML and reload the page, they should be spaced out horizontally. Good? Good. Now, removeclass="spread"from your HTML. We’re controlling that in other ways. - Back to
flex.js. We need to add a newmainElementglobal variable and usedocument.querySelectorto grab themain. (Note that we are NOT adding an event listener tomain, so don’t copy that line of code.) - Just like the buttons have a
classList,maindoes, too. Add another line of code to yourspacingfunction so that it toggles the “spread” class. - Click the “Spread Out” button a few times. The images should switch back and forth from the default positioning on the left to spaced out horizontally. And the button should still be inverting colors each time.
- Head back to
- Now let’s add some rotation.
- Add some more CSS to switch the flex-box to a column when the “vert” class is
present for the
mainelement. Just like spreading things out, add some JavaScript code to toggle this class. - Notice what happens if you click both buttons to activate both classes. Can you explain why? Does it matter which class you turn on/off first?
- Add some more CSS to switch the flex-box to a column when the “vert” class is
present for the
DOM manipulation
- We’ve still got one more button hanging around, so let’s do something with it.
- Add a new global variable and the associated initialization code at the bottom
of the
flex.jsfile to reference the button. - In
addImg, usedocument.createElementto create a newimgelement. Set thesrcandaltattributes to grab another random square image. HINT: HTML attributes just become object fields in the DOM; soimgElement.srccan be used to view or change the<img src="...">field. - Reload the page and click the “Add Image” button. Nothing happens. Huh. Oh,
that’s right, we created the
imgelement, but we didn’t tell the browser where we wanted the image to be added. UseappendChildto add it as a new child of themainelement.
- Add a new global variable and the associated initialization code at the bottom
of the
Going further
- The original
index.htmlfile may have looked a bit odd. It was missing closing tags forhead,body, andhtml. It turns out, that’s perfectly fine and valid. The HTML5 spec indicates that certain tags, including closing tags, are optional. - If you add enough images and make the flex-box into a column, notice that the
headerbar covers up the images. What CSS rule could you add to fix this? - What if we don’t like one of the random images? Let’s find a way to delete it.
In the initialization code, use
document.querySelectorAllto get all of the images. This function returns an array, so you can doimages.forEachto loop through them. Use this to add an event listener to callremoveImgfor each one. In this function, callremoveon the passed parameter. This won’t work. Use the console to print out the element that gets passed and try to figure out the problem. You can then read the textbook chapter on events to try to fix it.