James Madison University, Fall 2019 Semester
Virtual Machine Installation
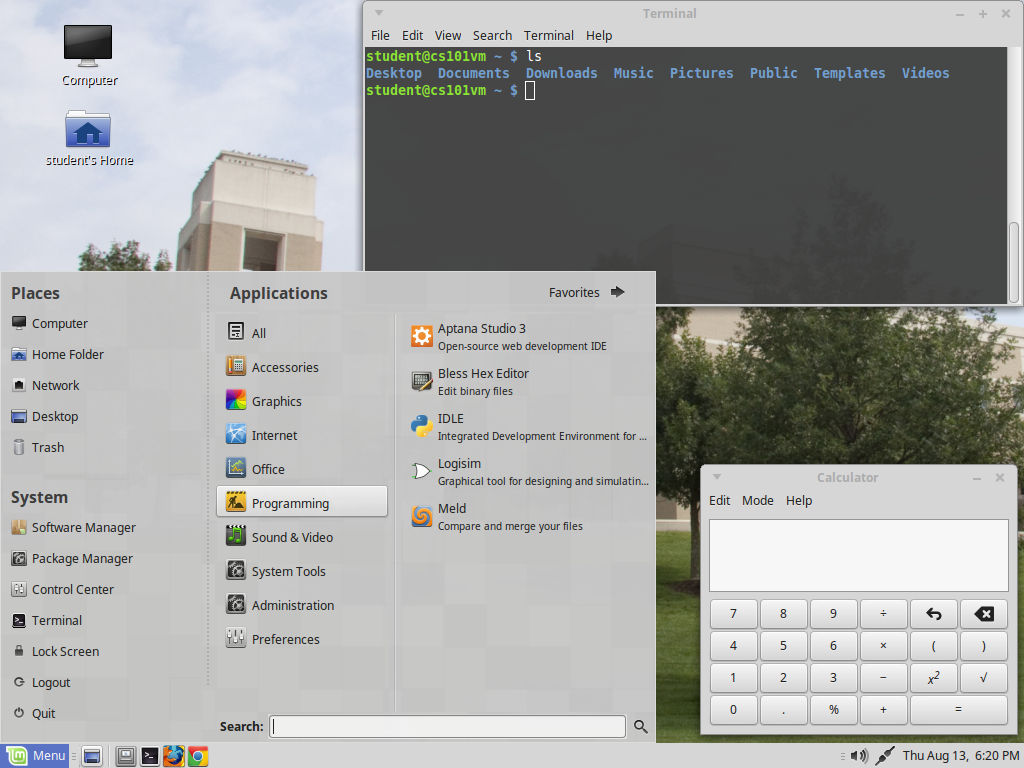
The main computer labs in the JMU CS department run Linux Mint. In contrast to operating systems like Windows and OS X, Linux is free and open-source. Google, Facebook, Twitter, and Amazon are all powered by Linux. This page is for CS 101 students who would like to run Linux on their own computers, without having to replace their current OS.

Part A: Outside of Class
Step 1: Install VirtualBox
Thanks to virtualization, it's easier than ever to get Linux up at running at home.
VirtualBox is a free program that allows you to create and run "virtual machines" on your computer.
Go to ![]() https://www.virtualbox.org/ and download the installer for your host operating system. Run the installer and accept all the default options (click "next" until done).
https://www.virtualbox.org/ and download the installer for your host operating system. Run the installer and accept all the default options (click "next" until done).
Note for Mac users: If installation fails, open System Preferences, go to Security & Privacy, and then click Allow next to "System software from 'Oracle America, Inc.' was blocked from loading". Then re-run the VirtualBox installer; it should succeed this time.
Step 2: Import the Image
The Unix Users Group maintains a virtual appliance based on Linux Mint that includes all the necessary software for the CS 101 labs. Simply download and open the file below to import it into VirtualBox. Once imported, it will require about 15-20 GB of hard disk space.
|
Download:
|
Part B: During the Lab
 |
Please wait to complete the following steps until the lab period (first Wednesday in class). If you run into trouble, it's easier to help you in the moment than after the fact. |
Step 3: Start the Machine
From within VirtualBox, click the green Start button to boot up "JMU Linux Mint Fa19". One of two things will happen:
If the virtual machine starts up with no error, proceed to the next step.
If you get an error message about "VT-x" or "AMD-V", please raise your hand and a TA will help you enable x86 virtualization in your BIOS. This process is complicated; you will need to reboot your laptop fully and press a hotkey (Dell = F2, HP = F10, Lenovo = F1). Windows 10 users may need to go to Settings → Update Security → Recovery → Advanced Startup → Restart Now.
Step 4: System Configuration
The first time you start the VM, it will guide you through the setup process. Please select the following options; there will be a separate screen for each one.
English language -- you can install other language packs later on, but choose English now so that we can help you.
English Keyboard -- just press Continue (the default "English (US)" is correct for JMU).
Eastern Time Zone -- just press Continue (the default "New York" is correct for JMU).
Who are you? -- this screen is very important. It sets up the admin account for the VM.
- Enter your real name (e.g., Chris Mayfield)
- Give your computer a short name (e.g., vbox)
- Enter your JMU username (e.g., mayfiecs)
- Choose a password that you will remember
- Select the option "Log in automatically"
- Do NOT check "Encrypt my home folder"
After you press Continue, it will take several minutes to finish configuring the operating system. Then the virtual machine will reboot; it may take a little longer this first time. When you see the desktop with icons, you're all done!
Part C: Outside of Class
|
Please complete the following steps when you get home. The JMU wireless network might not appreciate everyone downloading large software packages all at the same time. |
Step 5: System Updates
You virtual machine is like a second laptop inside your laptop. It has its own file system, application software, etc. You'll want to keep it up to date throughout the semester. Click the shield icon in the lower right (by the clock). Press the OK button to confirm the update manager settings. The rest should be self-explanatory.
Step 6: Install Software
For conveneince, we have bundled everything you'll need into a single download task. Double click the "JMU CS VM Configuration" icon on your desktop, check the "CS 101" box, and then press the "Run" button. This step may take several minutes to complete, depending on your Internet connection and laptop speed.